The Easiest Way to Temper Chocolate
Tempered chocolate breaks with a clean, crisp snap, shines beautifully, and has a smooth texture. While professionals often use expensive machines to prepare chocolate this way, you can do it using the partial melt method with your microwave!
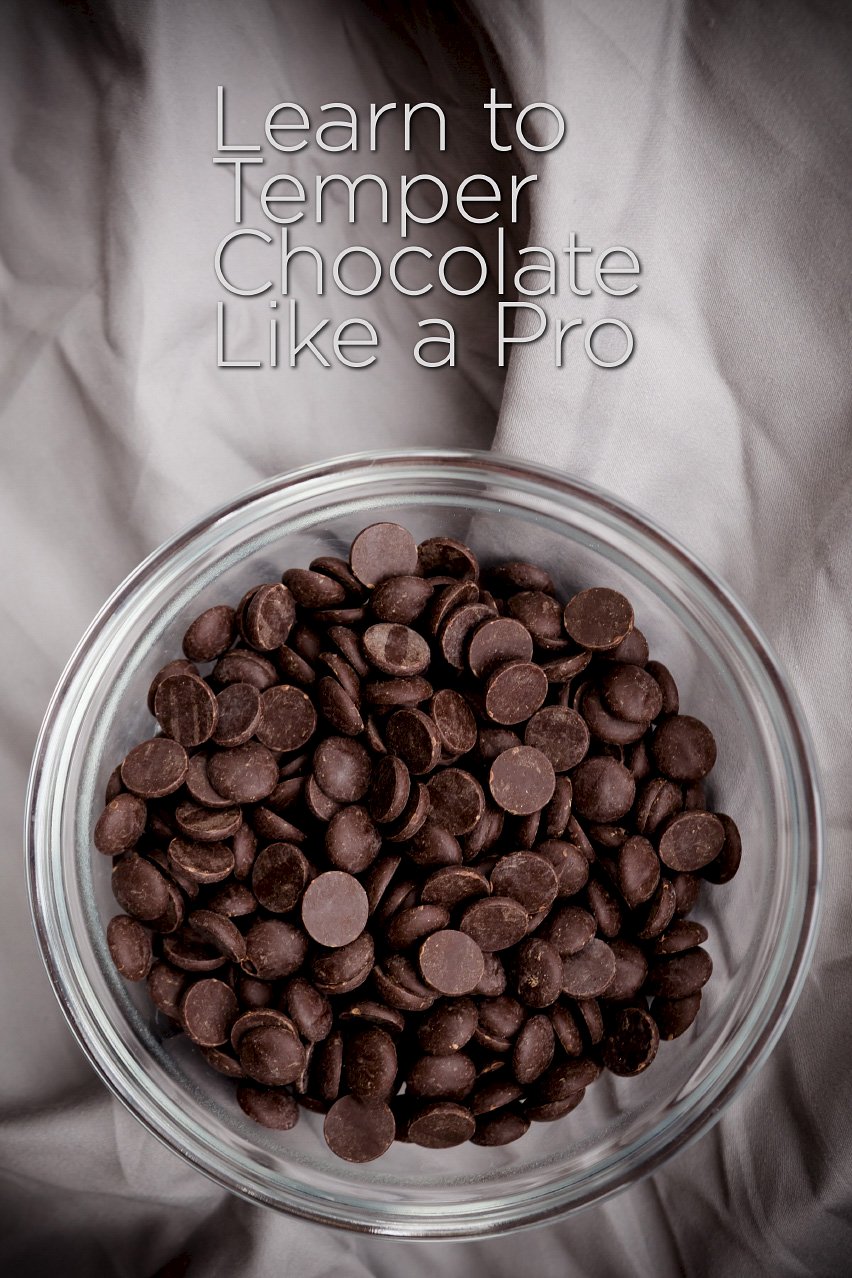
What Is Tempered Chocolate?
Simply, it’s chocolate that has been heated and cooled in just the right way to produce smooth, shiny chocolate with a good snap.
From a not-so-simple chemistry perspective, cocoa butter molecules in tempered chocolate are lined up to make only form-5 beta crystals. Other crystal forms yield chocolate with an unpleasant mouth feel and rough texture, and we eliminate those when we properly temper chocolate.
Why Tempering is Important
If you just melt and cool chocolate any which way, it doesn’t harden with the characteristics we’re looking for. The chocolate could end up rubbery and fugdey, lack luster, or crumble. This indicates that it is out of temper and that the cocoa butter molecules have formed other types of unwanted crystals.
Chocolate that is out of temper may also bloom. (If your old chocolate has turned gray, then you’ve seen blooming.)
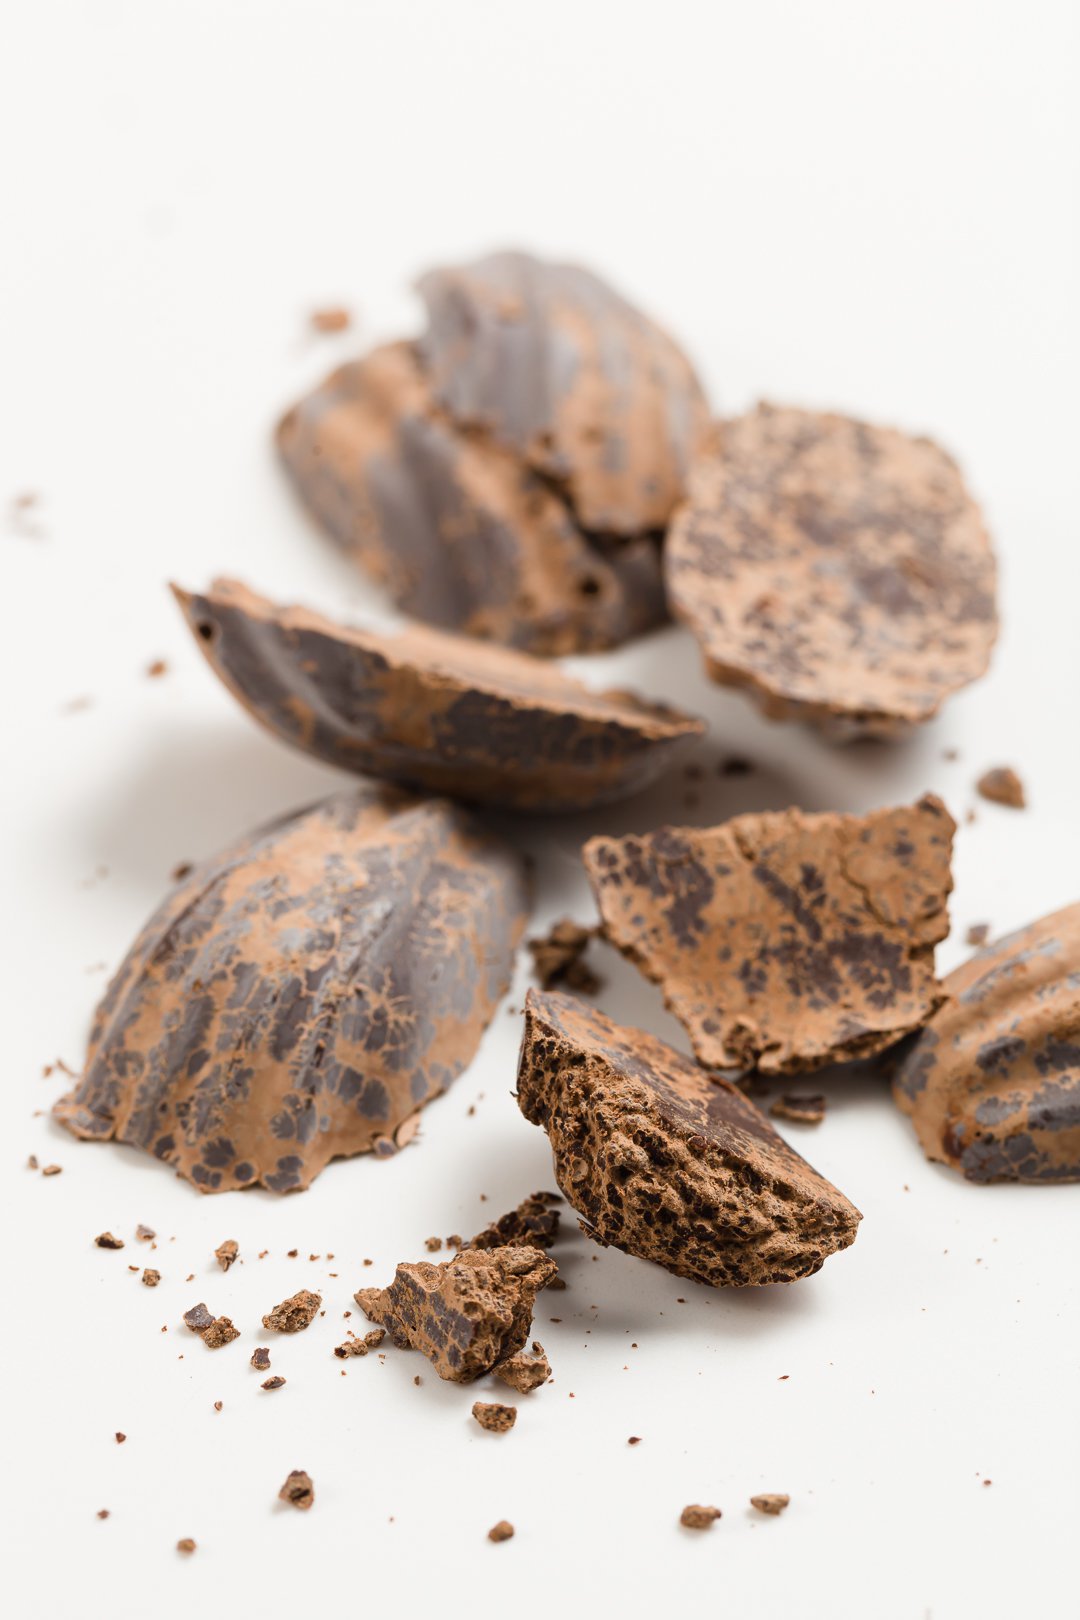
Tempering gives chocolate desirable qualities:
- It will be dense and will not crumble.
- It will be shiny. This indicates that the internal crystal structure is uniform.
- It will have a good, clean snap. Chocolate that isn’t tempered won’t make a sound when you break it.
- It will be stable at room temperature. Putting a piece in your hand for a moment should not leave a trail of melted chocolate.
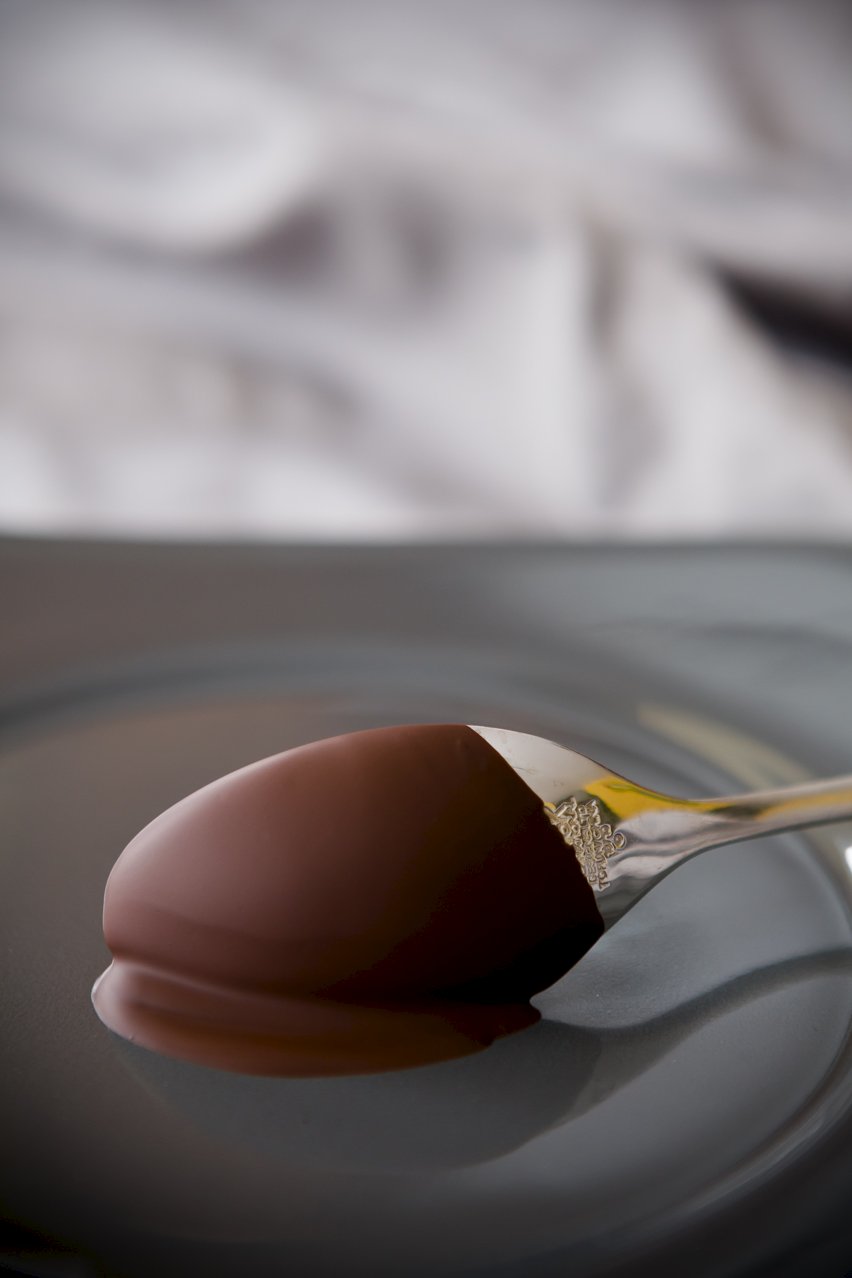
How It’s Made
I learned how to temper chocolate from the pros at Kakao Chocolate. I got to be a chocolatier for a day – this meant that, in addition to being trained by a professional, I got to eat all of the chocolate that I wanted all day long. Hello, sugar high!

Jenny from Kakao taught me that if she isn’t using the expensive tempering machine shown above (these machines cost almost $2,000), she uses the partial melt method. I took out my notebook.
The partial melt method sounds fancy but is pretty simple – it’s how you can temper chocolate using only a microwave.
Time needed: 13 minutes
Here’s how you can temper chocolate in a microwave:
- Put your chocolate in a microwave-safe bowl.
Pyrex is a good choice to use, but most glass bowls should be microwave-safe.
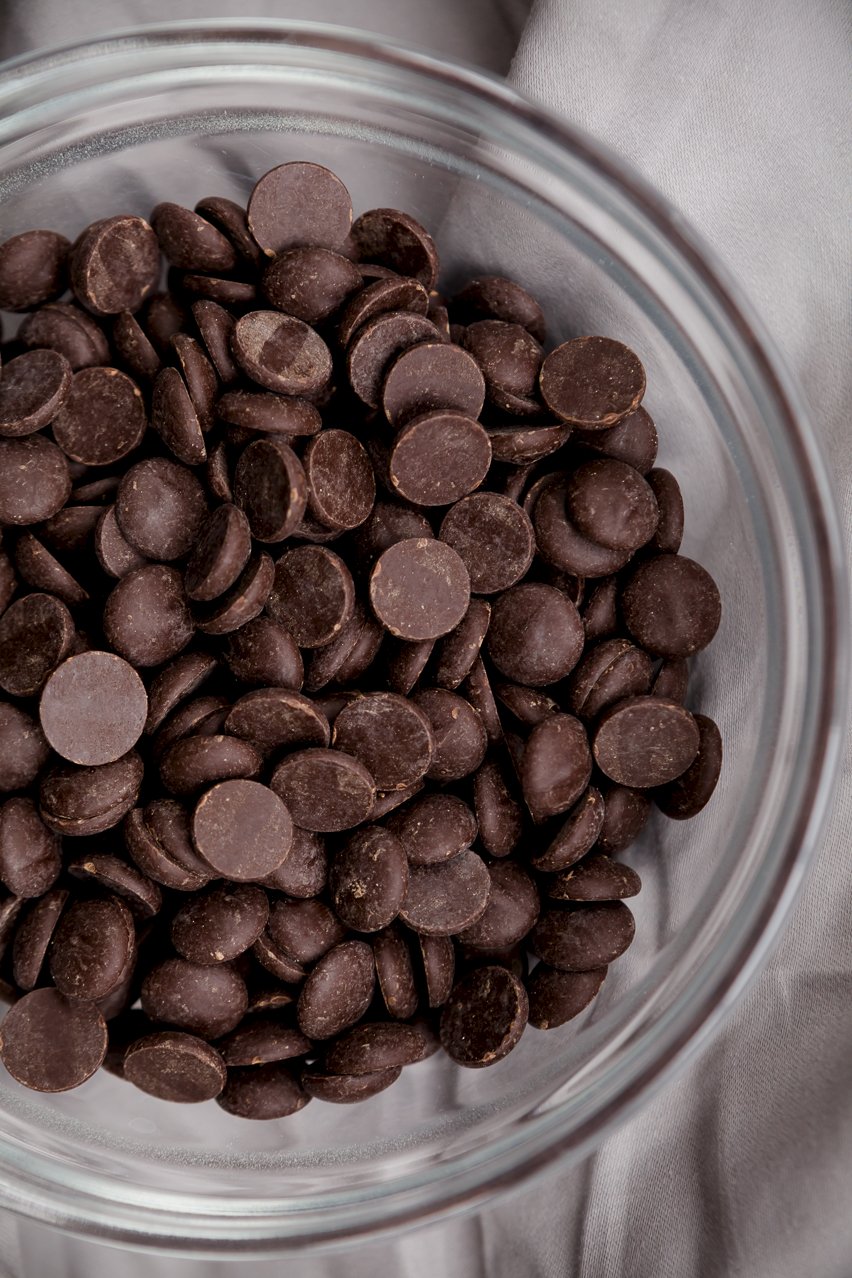
- Microwave in short bursts, stirring vigorously between bursts until 75% of the chocolate is melted.
The exact amount of time the chocolate needs to be in the microwave will depend on your particular microwave.
In the shop, Jenny taught me to initially microwave for a minute at half power, then microwave for thirty more seconds at half power for the next interval (she only needed the two bursts) – that worked for me at home as well.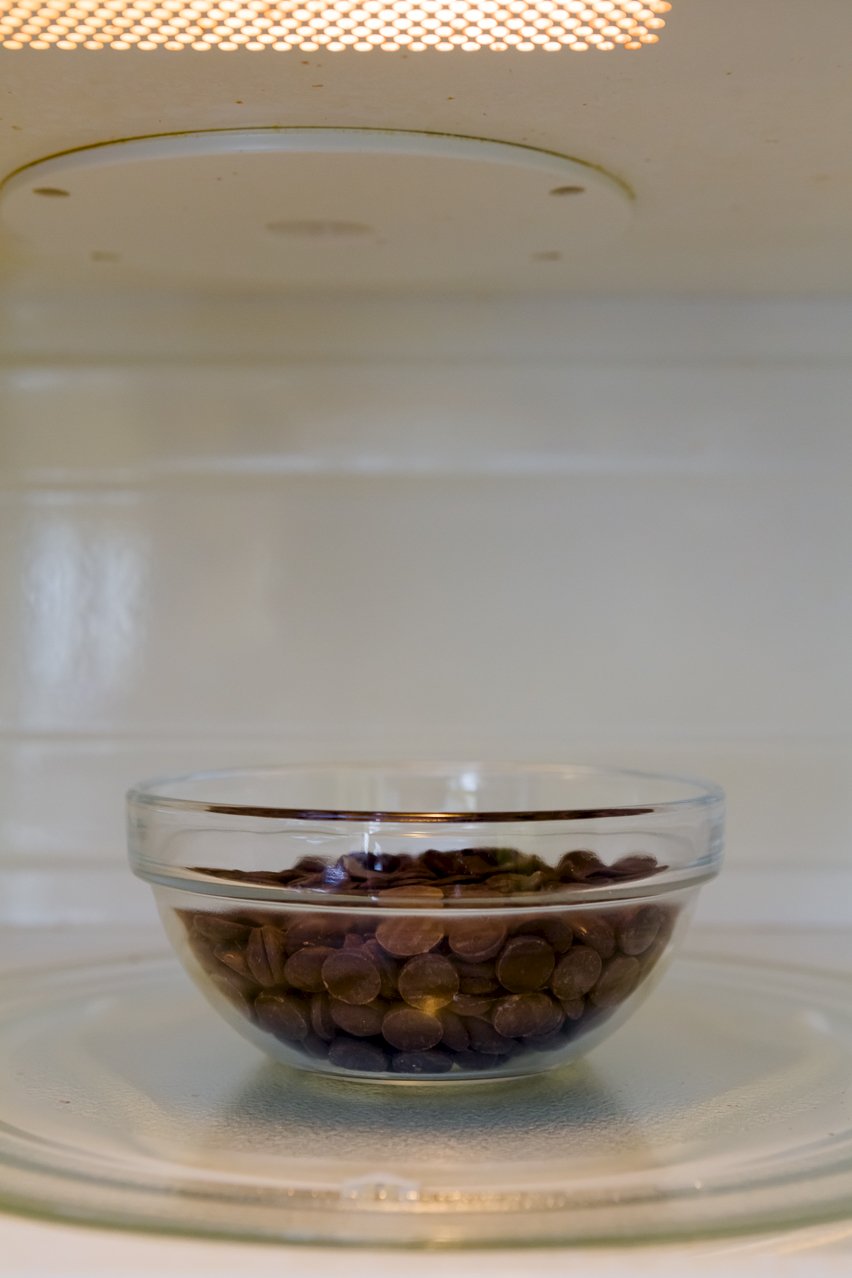
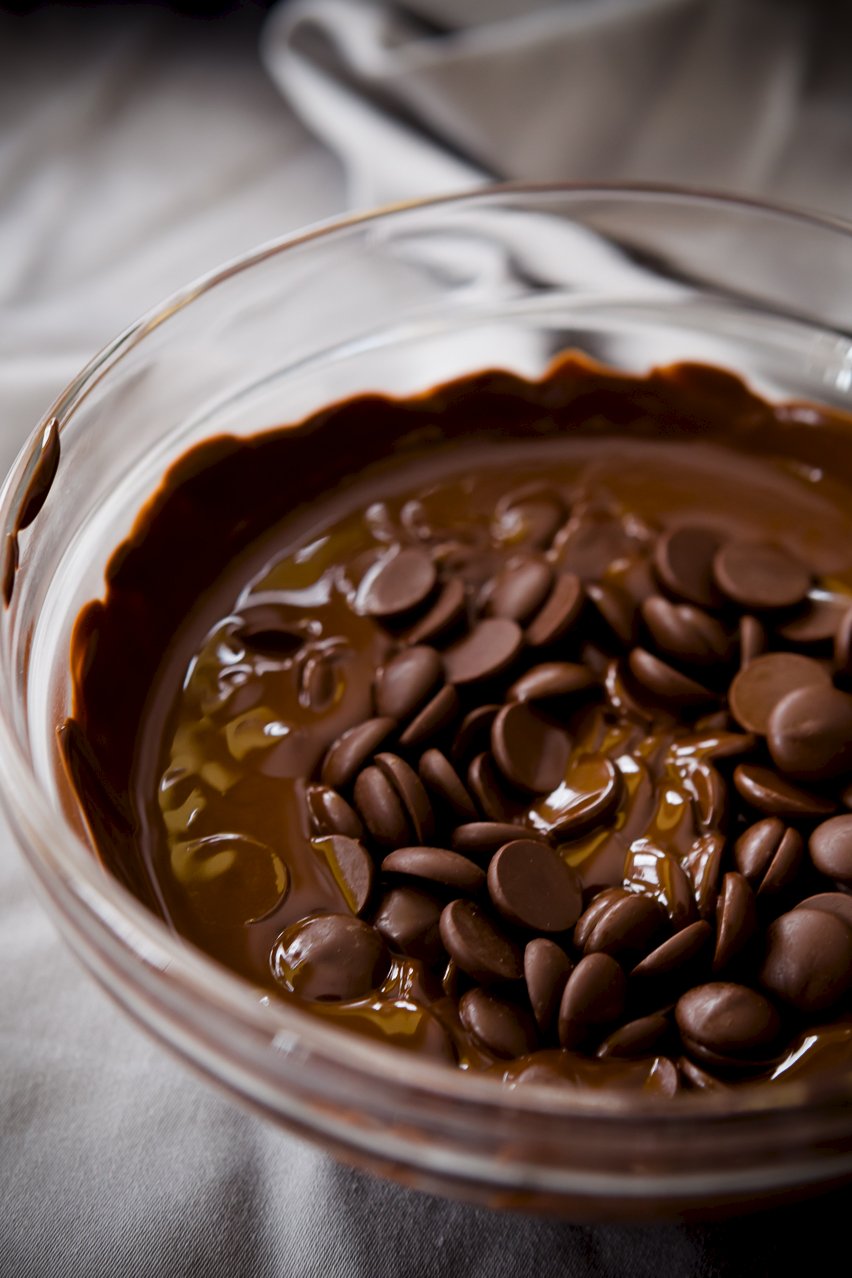
Using the heat of the melted chocolate to melt the remaining 25% in your bowl is the key to achieving a proper temper. Make sure to not melt all of the chocolate using the microwave.
Do not let your chocolate get above 122 F (for dark, semisweet, and bittersweet chocolate) or 105 F (for milk and white chocolate). This will ruin the chocolate and you’ll have to start over with fresh chocolate. - Mix the melted chocolate with the unmelted chocolate already in your bowl until completely smooth.
When about 75% of the chocolate is melted, the final stir will melt the remaining chocolate. Microwave in very short bursts at this point if you’re having trouble getting all of the chocolate to melt.
- Allow the chocolate to cool.
Use a candy thermometer if you have one to check that the chocolate is cooled to 90 F (for dark, semisweet, and bittersweet chocolate) or 86 F (for milk and white chocolate) before using it. If you use the chocolate while it is too hot, it won’t hold a shape.
Expert Tips and FAQs
Which Chocolate Can Be Tempered?
Not all chocolate can be tempered with this partial melt method. You must start with chocolate that has already been tempered if you’re going to temper chocolate using the microwave.
The best chocolate to use is:
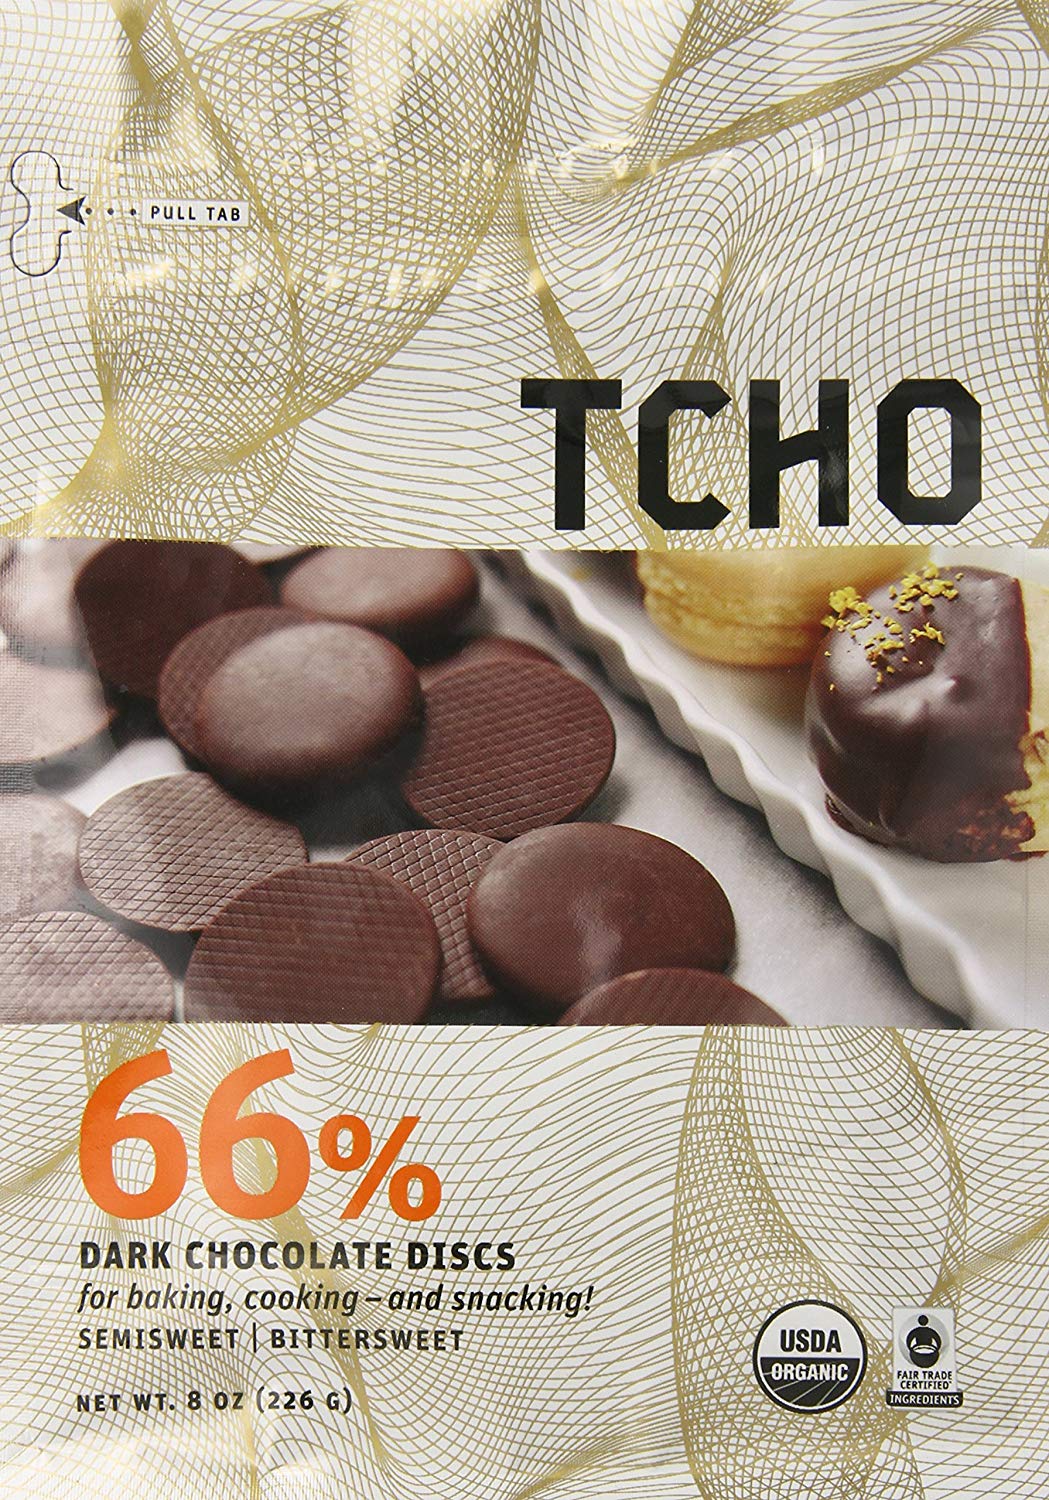
- Chocolate discs (I like using Callebaut chocolate discs [paid link] or TCHO discs [paid link]) – Chocolate discs are designed for melting and they are already tempered – a requirement for this method of tempering.
- A block of tempered chocolate [paid link] – You would need to chop it into small pieces yourself. An inexpensive chocolate chopper [paid link] can help with this.
- Some chocolate bars – I’ve had great success with breaking up Lily’s Dark Chocolate Baking Bars and tempering them. Be careful of which chocolate bar you use. If you see ingredients like vegetable oil, coconut oil, or even artificial chocolate flavoring in a chocolate bar, avoid that bar; those ingredients will interfere with the tempering process.
You should absolutely avoid other types of chocolate:
- Chocolate chips are designed to hold their shape while cookies are in the oven, so they aren’t the best choice for melting and tempering.
- Unsweetened chocolate (sometimes labeled baking chocolate) – If you’ve ever tasted that chocolate on its own, you’ll know why. It’s only meant to be eaten after being mixed with sugar in baked goods.
- Candy melts – Candy melts [paid link] are easy to work with. You don’t need to worry about tempering at all. But, they aren’t real chocolate and their flavor won’t be nearly as good as the real thing! You should be wary of chocolate labeled “compound chocolate” or “chocolate coating” as the texture and taste is totally different from the real deal.
The Chemistry of Tempering
Cocoa butter molecules can form six different forms of crystals. Crystals that are form-1 through form-4 melt at or below 27.3 C (about 81 F). Form-5 beta crystals – what you’re looking for – have a melting point of 33.8 C (about 93 F). Form-6 crystals don’t even form from melted, tempered chocolate; they appear months later and you can often see evidence of form-6 crystal formation as surface blooming.
Tempered chocolate has cocoa butter crystals that only occur in a particular form. The tempering process has only a few aims:
- You want to dissolve cocoa butter crystal forms that are undesirable.
- You want cocoa butter crystals to form in the one crystal structure (form-5 beta crystals) that guarantees the desirable unique properties.
When you heat chocolate in the microwave so that 75% of it is melted, the melted cocoa butter is heated so no crystal forms remain. Stirring in solid chocolate until it melts cools the chocolate down. Cocoa butter molecules begin to crystallize and form form-5 crystals. The unmelted, tempered chocolate you add to your bowl acts as a seed for proper form-5 beta crystal formation.
Tip: If you accidentally melt all of your chocolate in the microwave instead of only 75% of it, add unmelted, tempered chocolate to the bowl and stir until it melts completely.
Using a Candy Thermometer
You don’t need to use a candy thermometer [paid link] when you temper chocolate in a microwave, but doing so can be helpful if you want a really great end result.
Tip: To not damage the chocolate, it’s recommended that chocolate never go over 122 F (for dark, semisweet, and bittersweet chocolate) or 105 F (for milk and white chocolate). Once over these temperatures, the chocolate will become thick, have a grainy texture, and might even burn.
FAQs
Tempered chocolate has been heated and cooled in a way to produce smooth, shiny chocolate with a good snap.
Heating and cooling chocolate without taking care to temper it can result in chocolate that’s rubbery and fugdey, lacking luster, or crumbling. Tempering makes sure that it has only desirable characteristics.
Already tempered chocolate discs work well and are easy to use. The second best option is a large block of tempered chocolate. Remember that the partial melt method only works when you use already tempered chocolate.
If you accidentally melt all of your chocolate in the microwave and it hasn’t gotten too hot, add more unmelted, tempered chocolate to the bowl to act as seed crystals and stir until everything is completely melted.
Related Recipes
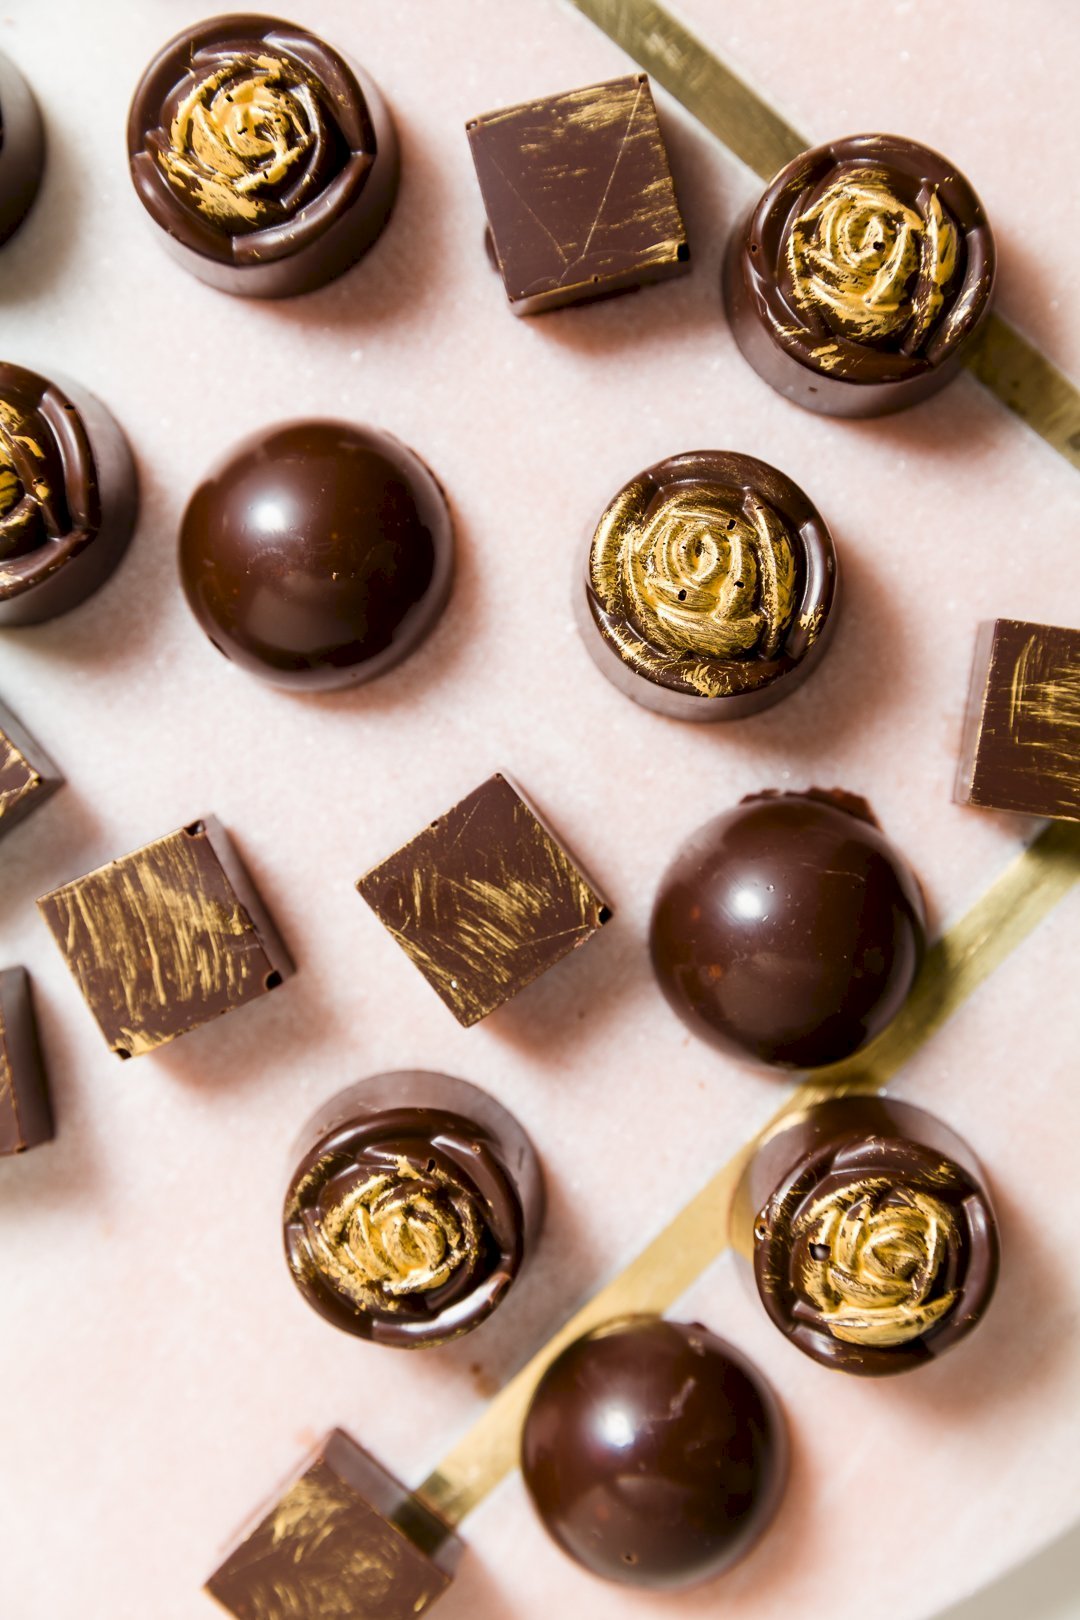
It doesn’t matter if chocolate is tempered when using it in cake batter. However, if your chocolate will be visible in or important in your end product, tempering is critical. It is fantastic for:
See Also…
The Easiest Way to Temper Chocolate
Equipment
- Microwave
Instructions
- Place the chocolate in a microwave-safe bowl.
- Microwave in short bursts, stirring vigorously between bursts until 75% of the chocolate is melted. The exact amount of time the chocolate needs to be in the microwave will depend on your particular microwave. In my microwave, I do it for a minute at half power, then microwave for thirty more seconds at half power for the next interval.
- Mix the melted chocolate with the unmelted chocolate already in your bowl until completely smooth.
- Wait until the chocolate cools slightly before using it. If you have a candy thermometer (recommended), check to make sure it has cooled to 90 F (for dark, semisweet, and bittersweet chocolate) or 86 F (for milk and white chocolate) before using it.
Notes
- Chocolate discs (I like using Callebaut chocolate discs [paid link] or TCHO discs [paid link]) – Chocolate discs are designed for melting.
- A block of tempered chocolate – You will need to chop it into small pieces [paid link] yourself. You can buy an inexpensive chocolate chopper to help with this.
- Some chocolate bars – Be careful of which brand you buy. If you see ingredients like vegetable oil, coconut oil, or even artificial chocolate flavoring, don’t buy it.
- Chocolate chips – They are designed to hold their shape while cookies are in the oven so they aren’t the best choice for melting and tempering.
- Unsweetened chocolate (sometimes labeled baking chocolate) – If you’ve ever tasted that chocolate on it’s own, you’ll know why. It’s only meant to be eaten after being mixed with sugar in baked goods.
- Candy melts – Candy melts [paid link] are easy to work with. You don’t need to worry about tempering at all. But, they aren’t real chocolate. Their flavor won’t be nearly as good as the real thing! You should be wary of chocolate labeled ‘compound chocolate’ or ‘chocolate coating’ as the texture and taste is totally different from the real deal.
Loading comments...