Chocolate Leaves in 30 Seconds
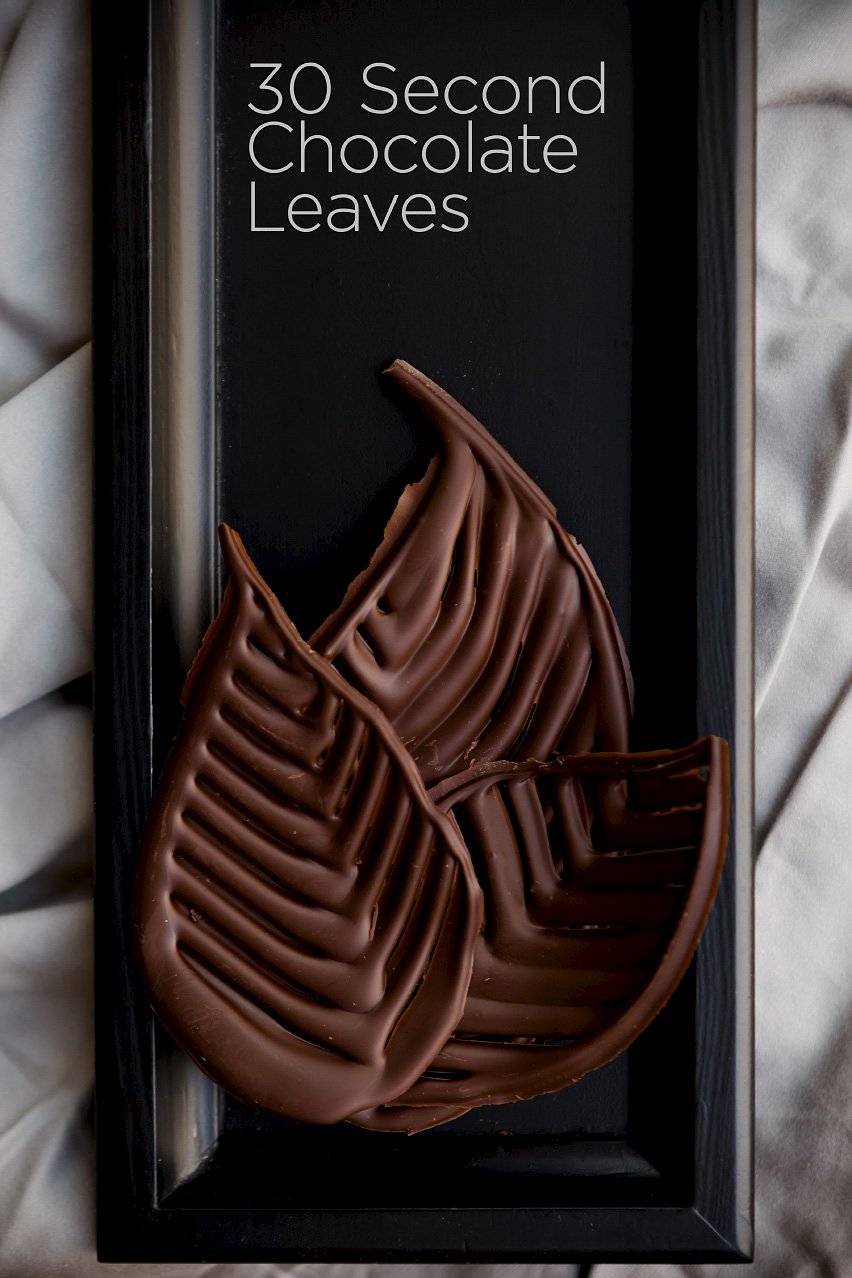
It takes just 30 seconds to make amazing chocolate leaves using a bowl of chocolate and a comb! Use the leaves to decorate cakes, pies, and cupcakes or simply arrange them on a plate for a super easy dessert!
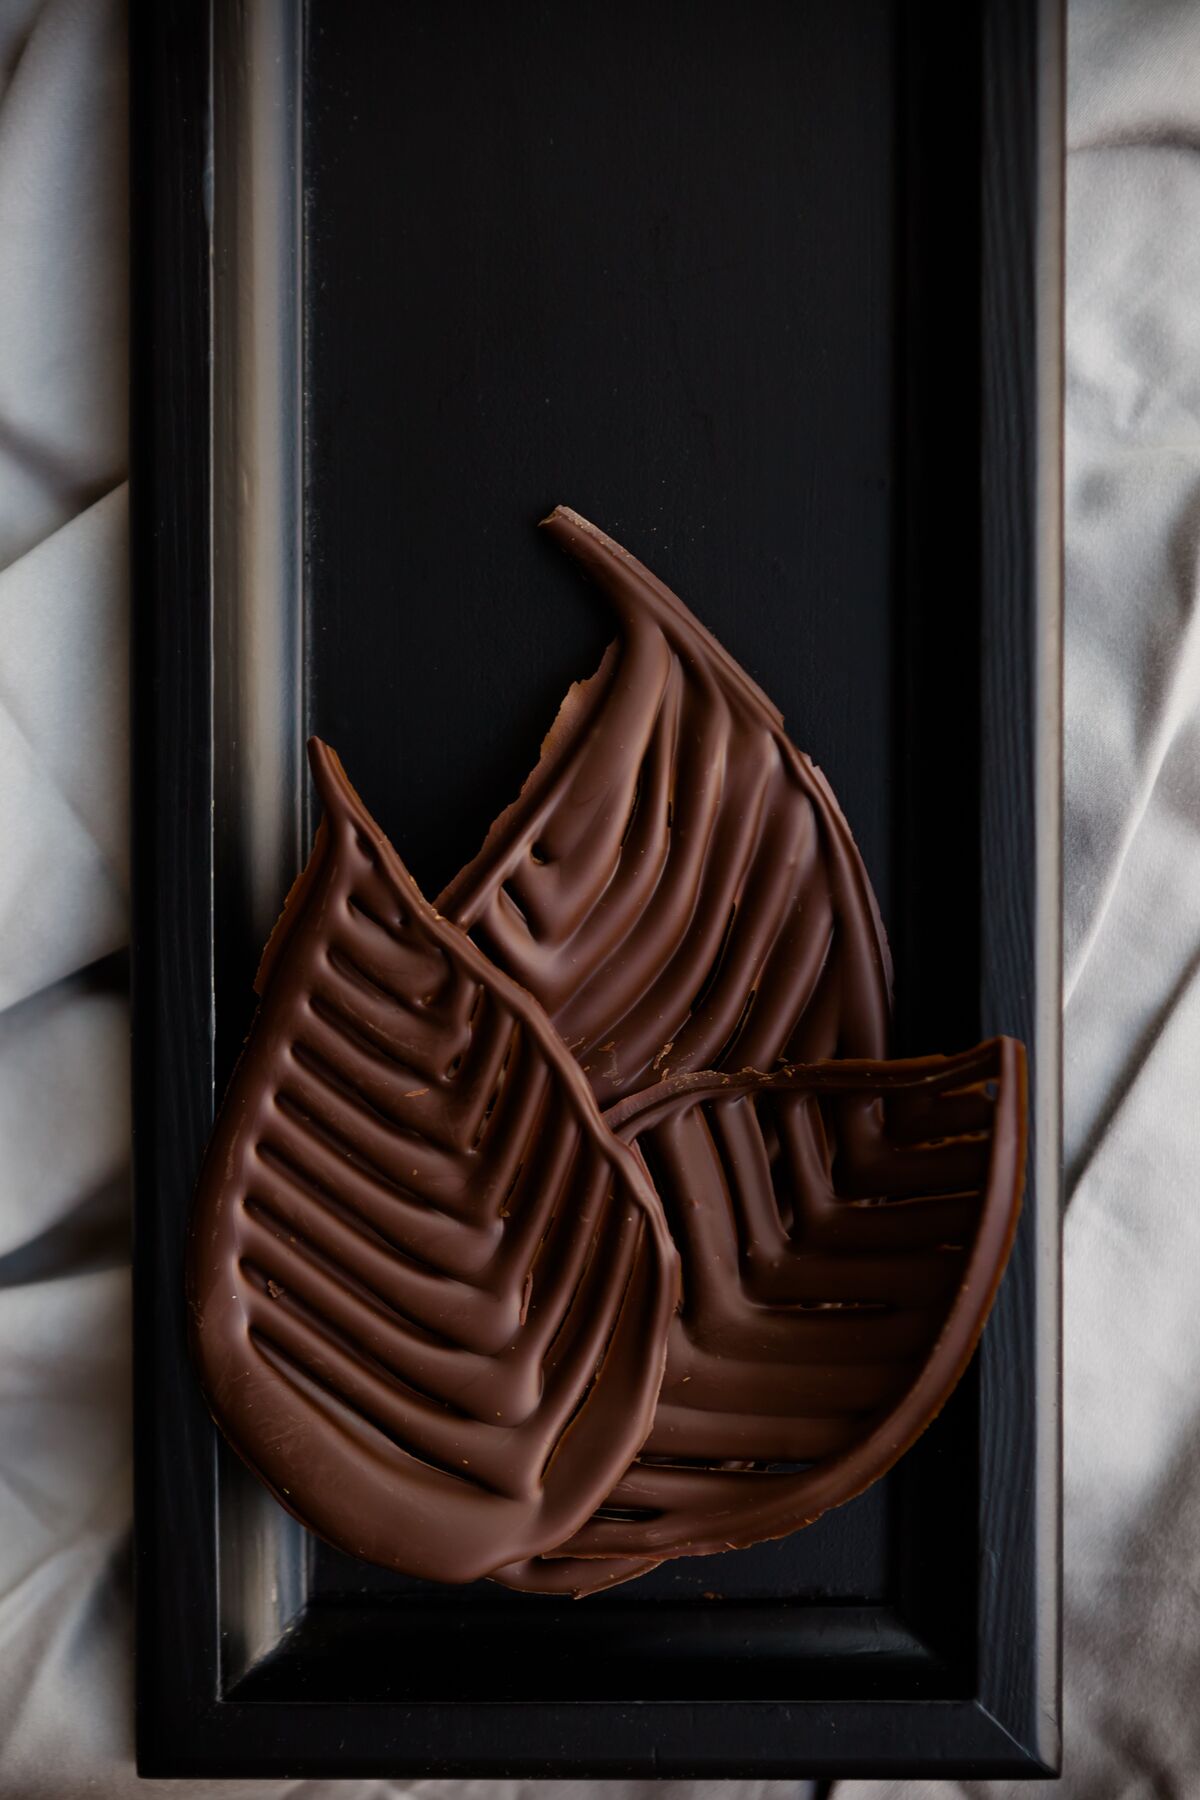
A few years ago, I had the opportunity to visit the amazing kitchens at Kakao Chocolate and to play at being a chocolatier for a day. This meant that I got to eat all of the chocolate that I wanted all day long – hello, sugar high!
One of the coolest things that these chocolate magicians taught me was how to make chocolate leaves. I’m excited to be able to share that with you!
Ingredients and Tools
Tempered Chocolate
You can use white, dark, or milk chocolate for these leaves. It must be tempered.
Tempering chocolate means that you heat and cool the chocolate under controlled conditions so that the little crystals of cocoa butter in the chocolate all form at the same size. Tempered chocolate has a smooth, glossy finish on the outside, it doesn’t melt in your hand as easily, and it gives a nice snap when it breaks instead of crumbling apart.
The process doesn’t take much time, and it makes your chocolate easier to work with and – most importantly – easier to eat.
The easiest way to temper chocolate is by heating it in short bursts in the microwave. If you aren’t familiar with the method, read more in my post on how to temper chocolate.
A Comb
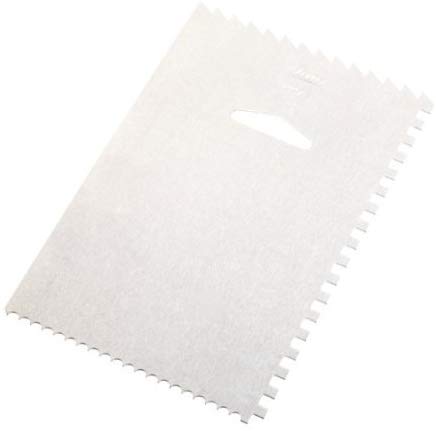
You can use a special cake-decorating comb [paid link] that sells for under one dollar.
If you don’t have one, if you don’t want to buy one, or if you can’t possibly wait to start making these chocolate decorations right this minute, then a regular old hair comb will work as well. Be sure the teeth of the comb are big enough for the effect, and, of course, wash and dry it thoroughly first.
How It’s Made
Pour some tempered chocolate onto parchment paper.
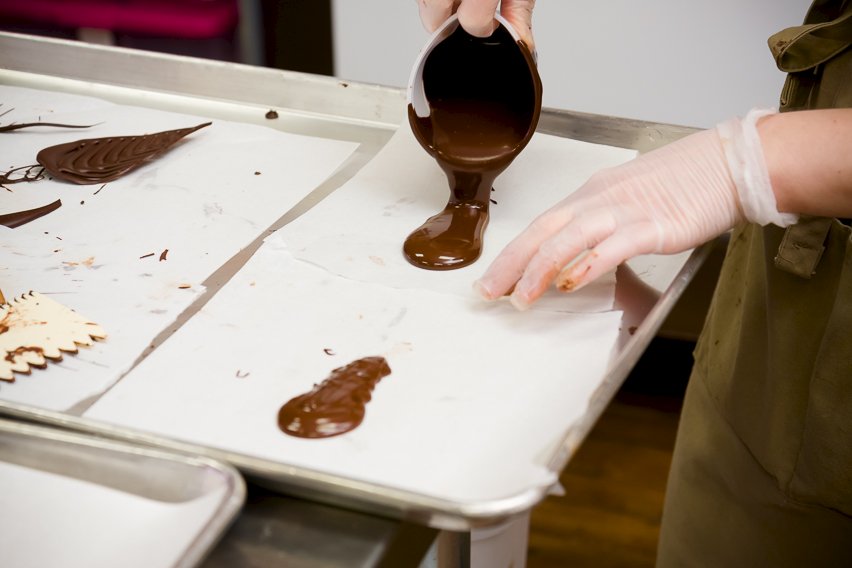
Use the comb to drag lines away from the center line on both sides of the chocolate.
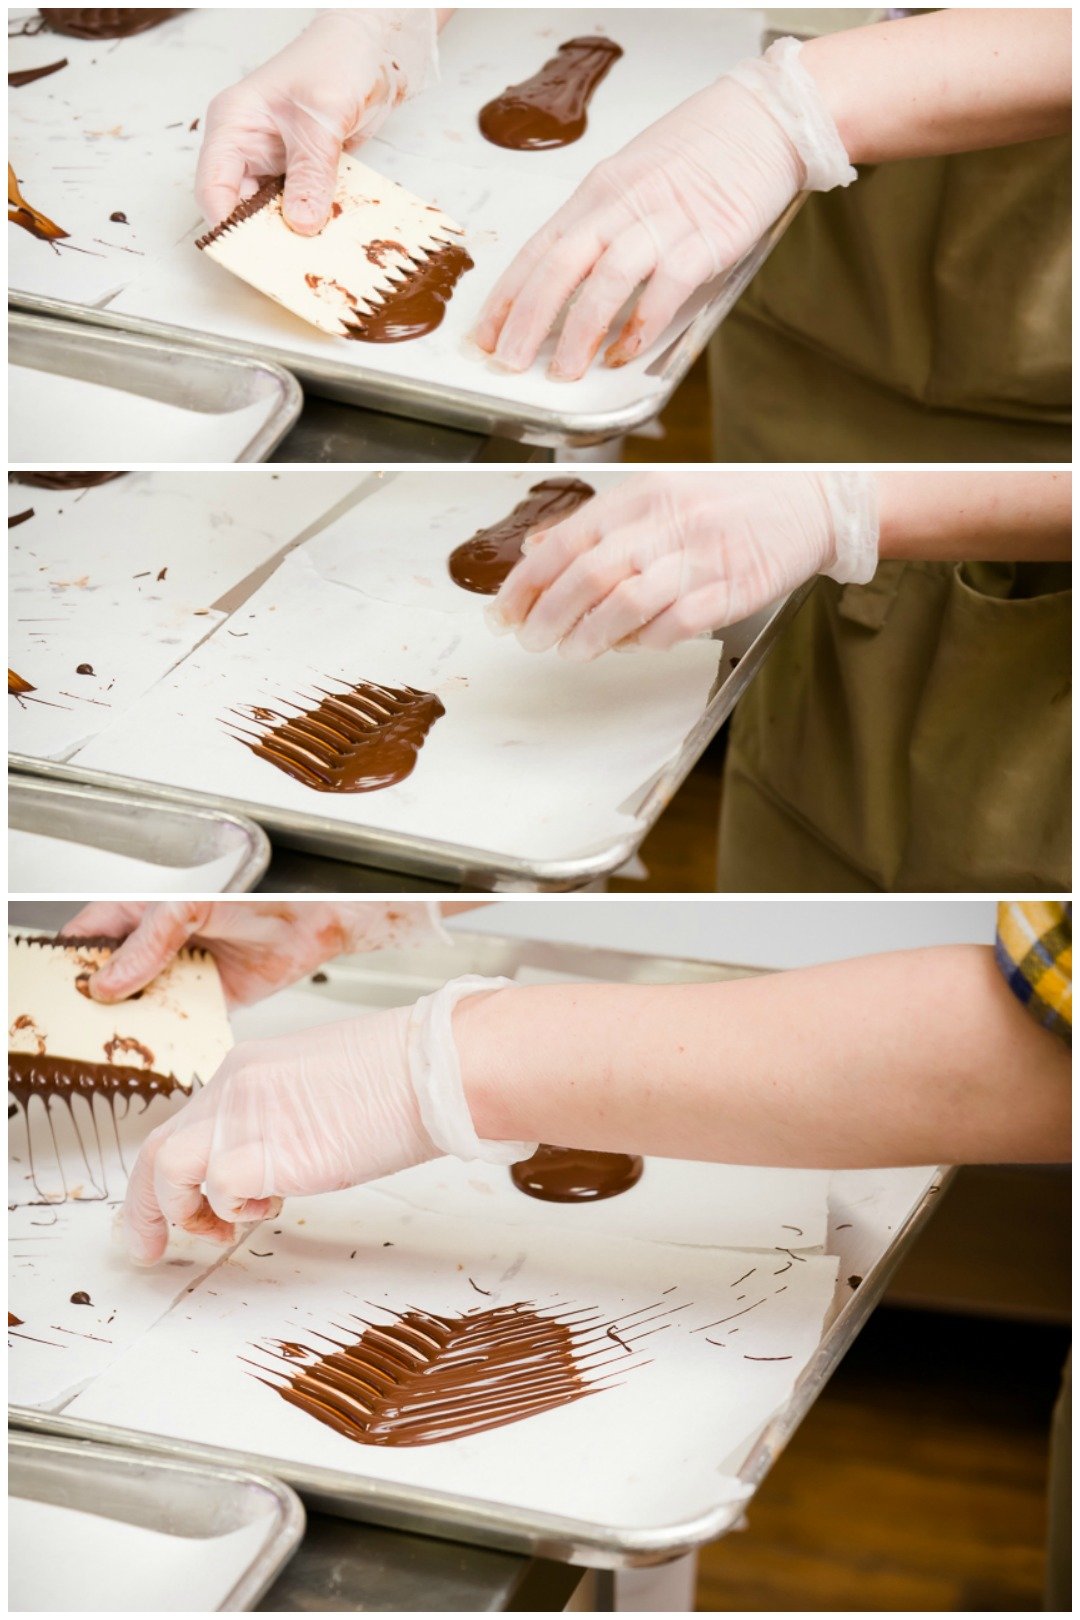
Use your finger to draw a leaf shape around the border of the chocolate.
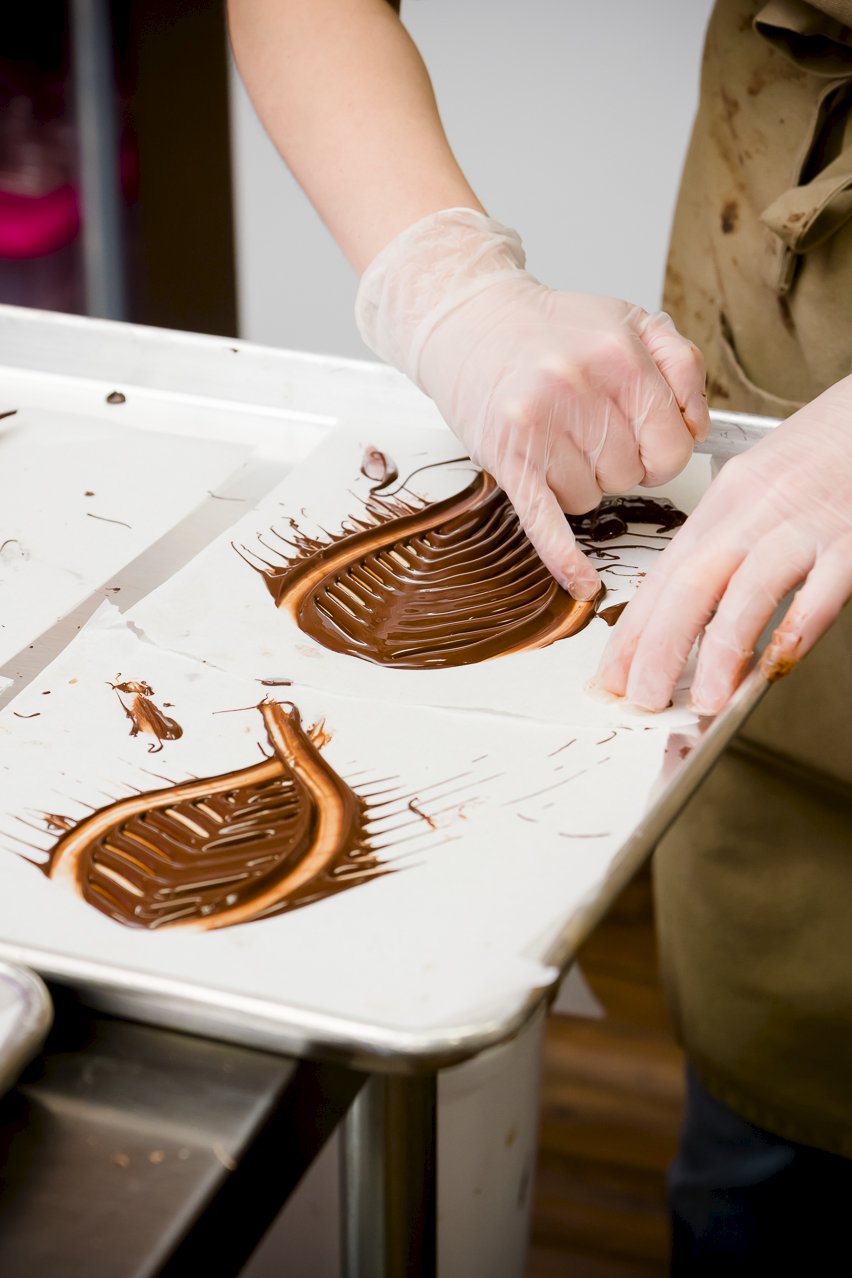
Fold the parchment paper up a little to create a slight curve in the leaf.
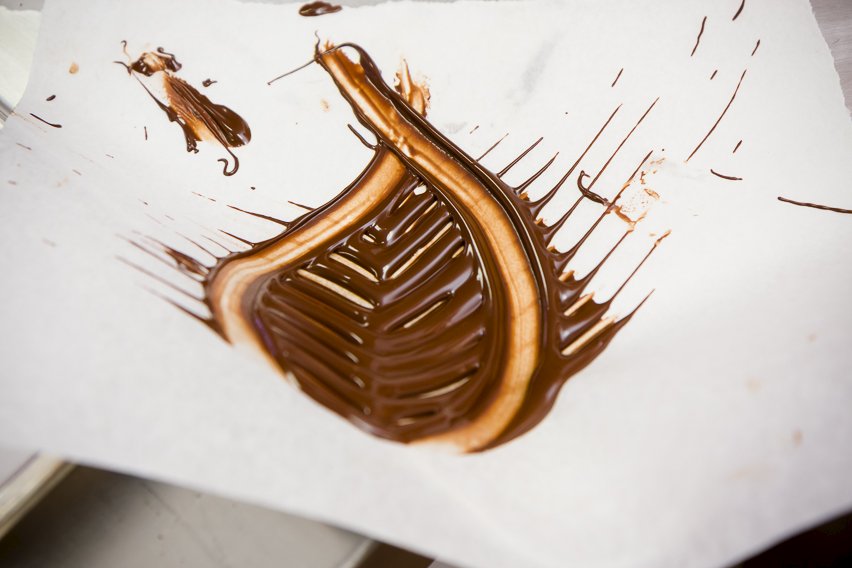
Cool in the refrigerator for about thirty minutes.
When the leaves are done, carefully peel them off the parchment paper.
Expert Tips and FAQs
Best Ways to Use Chocolate Leaves
- Use these decorations to top any fall cupcake, like a pumpkin cupcake.
- Decorate any cake or even a bowl of ice cream with them.
- Place leaves on an apple crumble pie after it’s done baking.
- Serve alongside toasted pumpkin seeds, toasted marshmallows, and graham crackers on a snack or dessert board.
FAQs
If you have tempered the chocolate properly, you can store them at room temperature in an airtight container.
This means that the chocolate was not tempered properly. They are still totally safe to eat, but the texture won’t be the same and they don’t look as nice. Read up on tempering chocolate before trying again.
Yes! And, using them is a great method when you are serving, smaller more delicate dishes. For a more realistic looking chocolate leaf, you can paint tempered chocolate onto the veiny side of real, green leaves. Before painting with chocolate, wash and dry the leaves thoroughly. Also, make sure that the leaves aren’t from poisonous plants like poison ivy or poison oak.
Once the melted chocolate has cooled and is firm, peel the leaves from the chocolate.
For bigger designs where you want bold strokes of chocolate that a person could recognize across the room, I suggest sticking with the combing method.
Related Recipes
Chocolate Leaves
Equipment
- cake decorating comb or thoroughly cleaned and dried regular hair comb
Instructions
- Pour a long blob of tempered chocolate onto parchment paper.
- Use a clean hair comb or a special cake decorating comb to drag lines on both sides of the chocolate.
- Use your finger to paint the outline of the leaf.
- Cool until hardened (about 30 minutes in the refrigerator) and then peel off the parchment.
Loading comments...