How to Make a Cupcake Bouquet with Frosting Flowers
Cupcake Bouquets make such wonderful gifts. They are gorgeous to look at and delicious to eat! Luckily, they aren’t that hard to make once you know the technique. Put together a Cupcake Bouquet with frosting flowers for your next birthday party, special event, or even a wedding centerpiece!
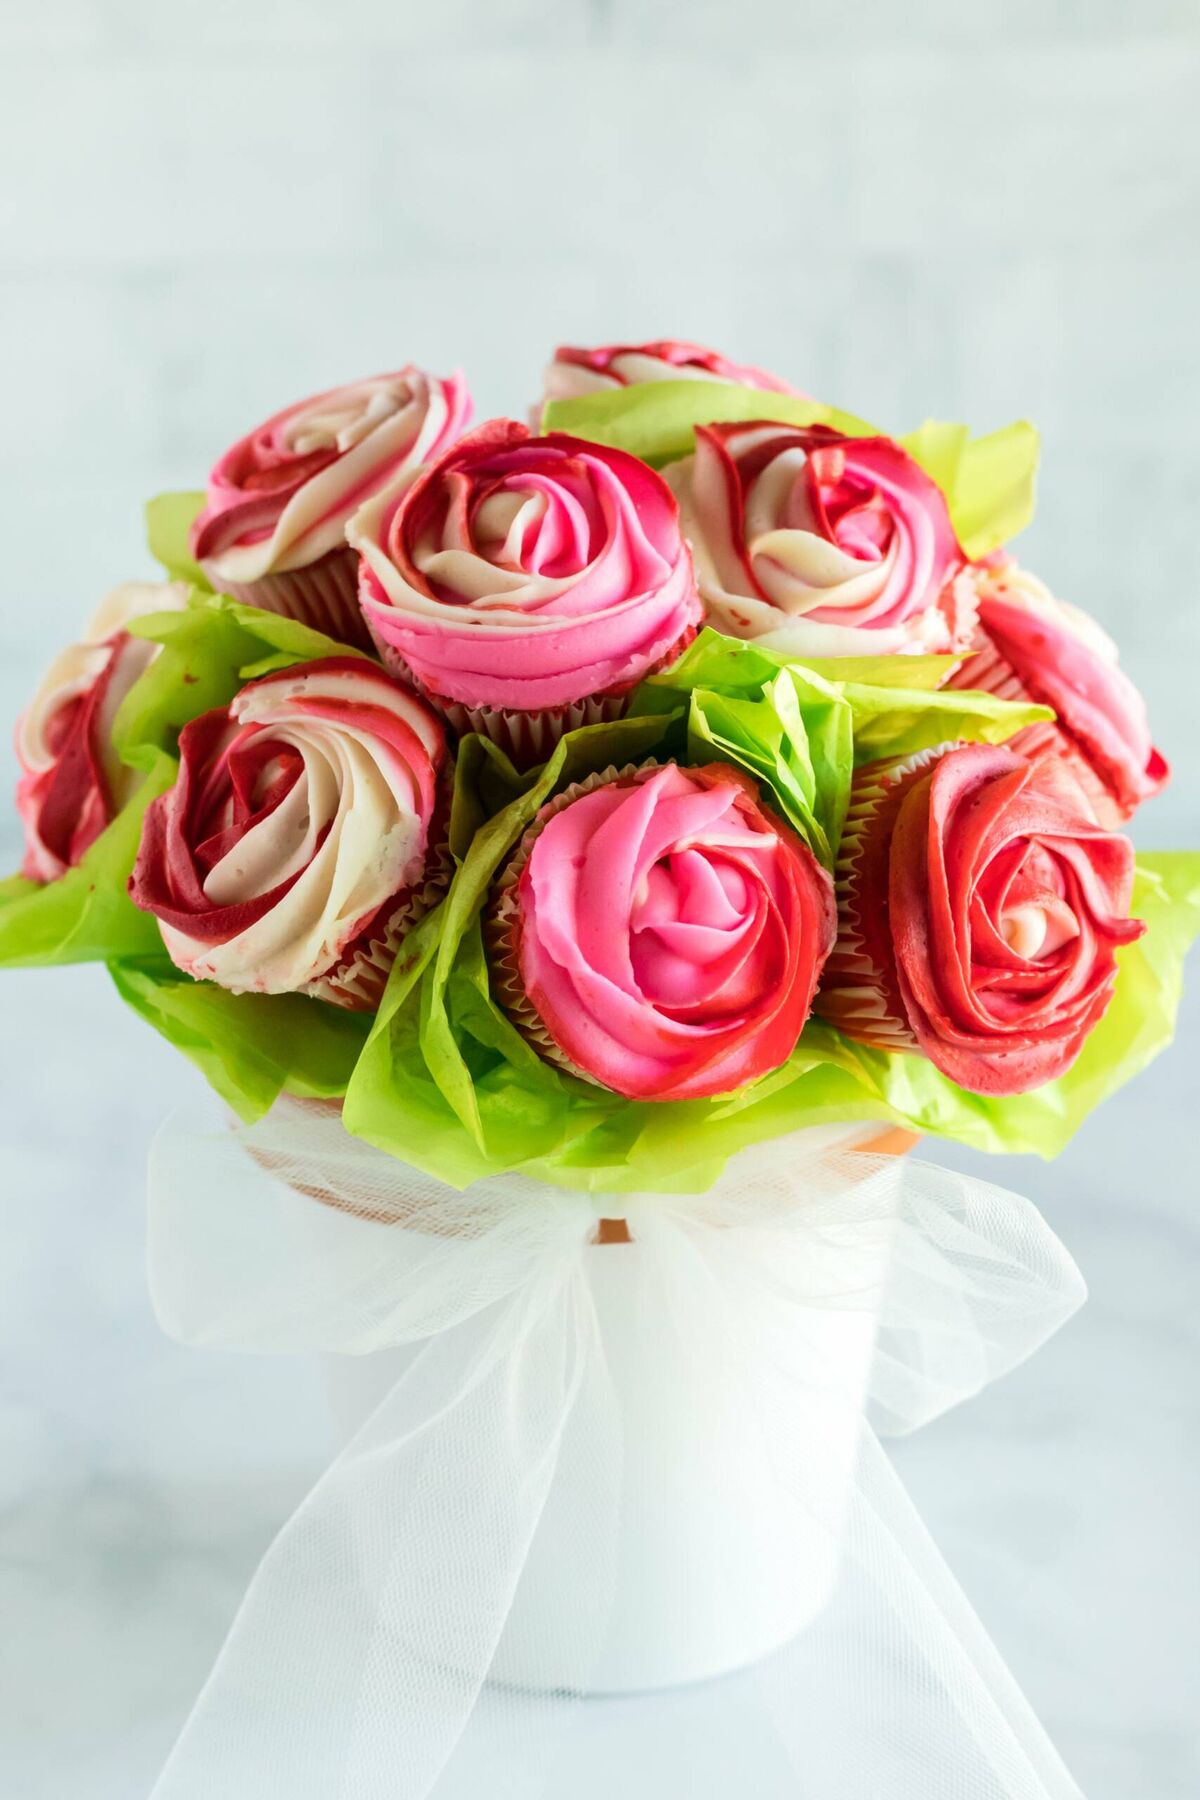
Flowers can be so expensive, and they are not that original. I love seeing people’s surprise at receiving a bouquet that is edible and completely made of cupcakes!
If you enjoy baking, this is a great way to prepare a homemade and personal gift or decoration. Cupcake bouquets also make great party centerpieces – that can be eaten at the end of the night!
What You’ll Need
- Cupcakes and buttercream frosting. These can be any flavor and use any color icing. The number of cupcakes you will need varies based on the size of your bouquet. A small one, like the one shown here, requires 12 cupcakes.
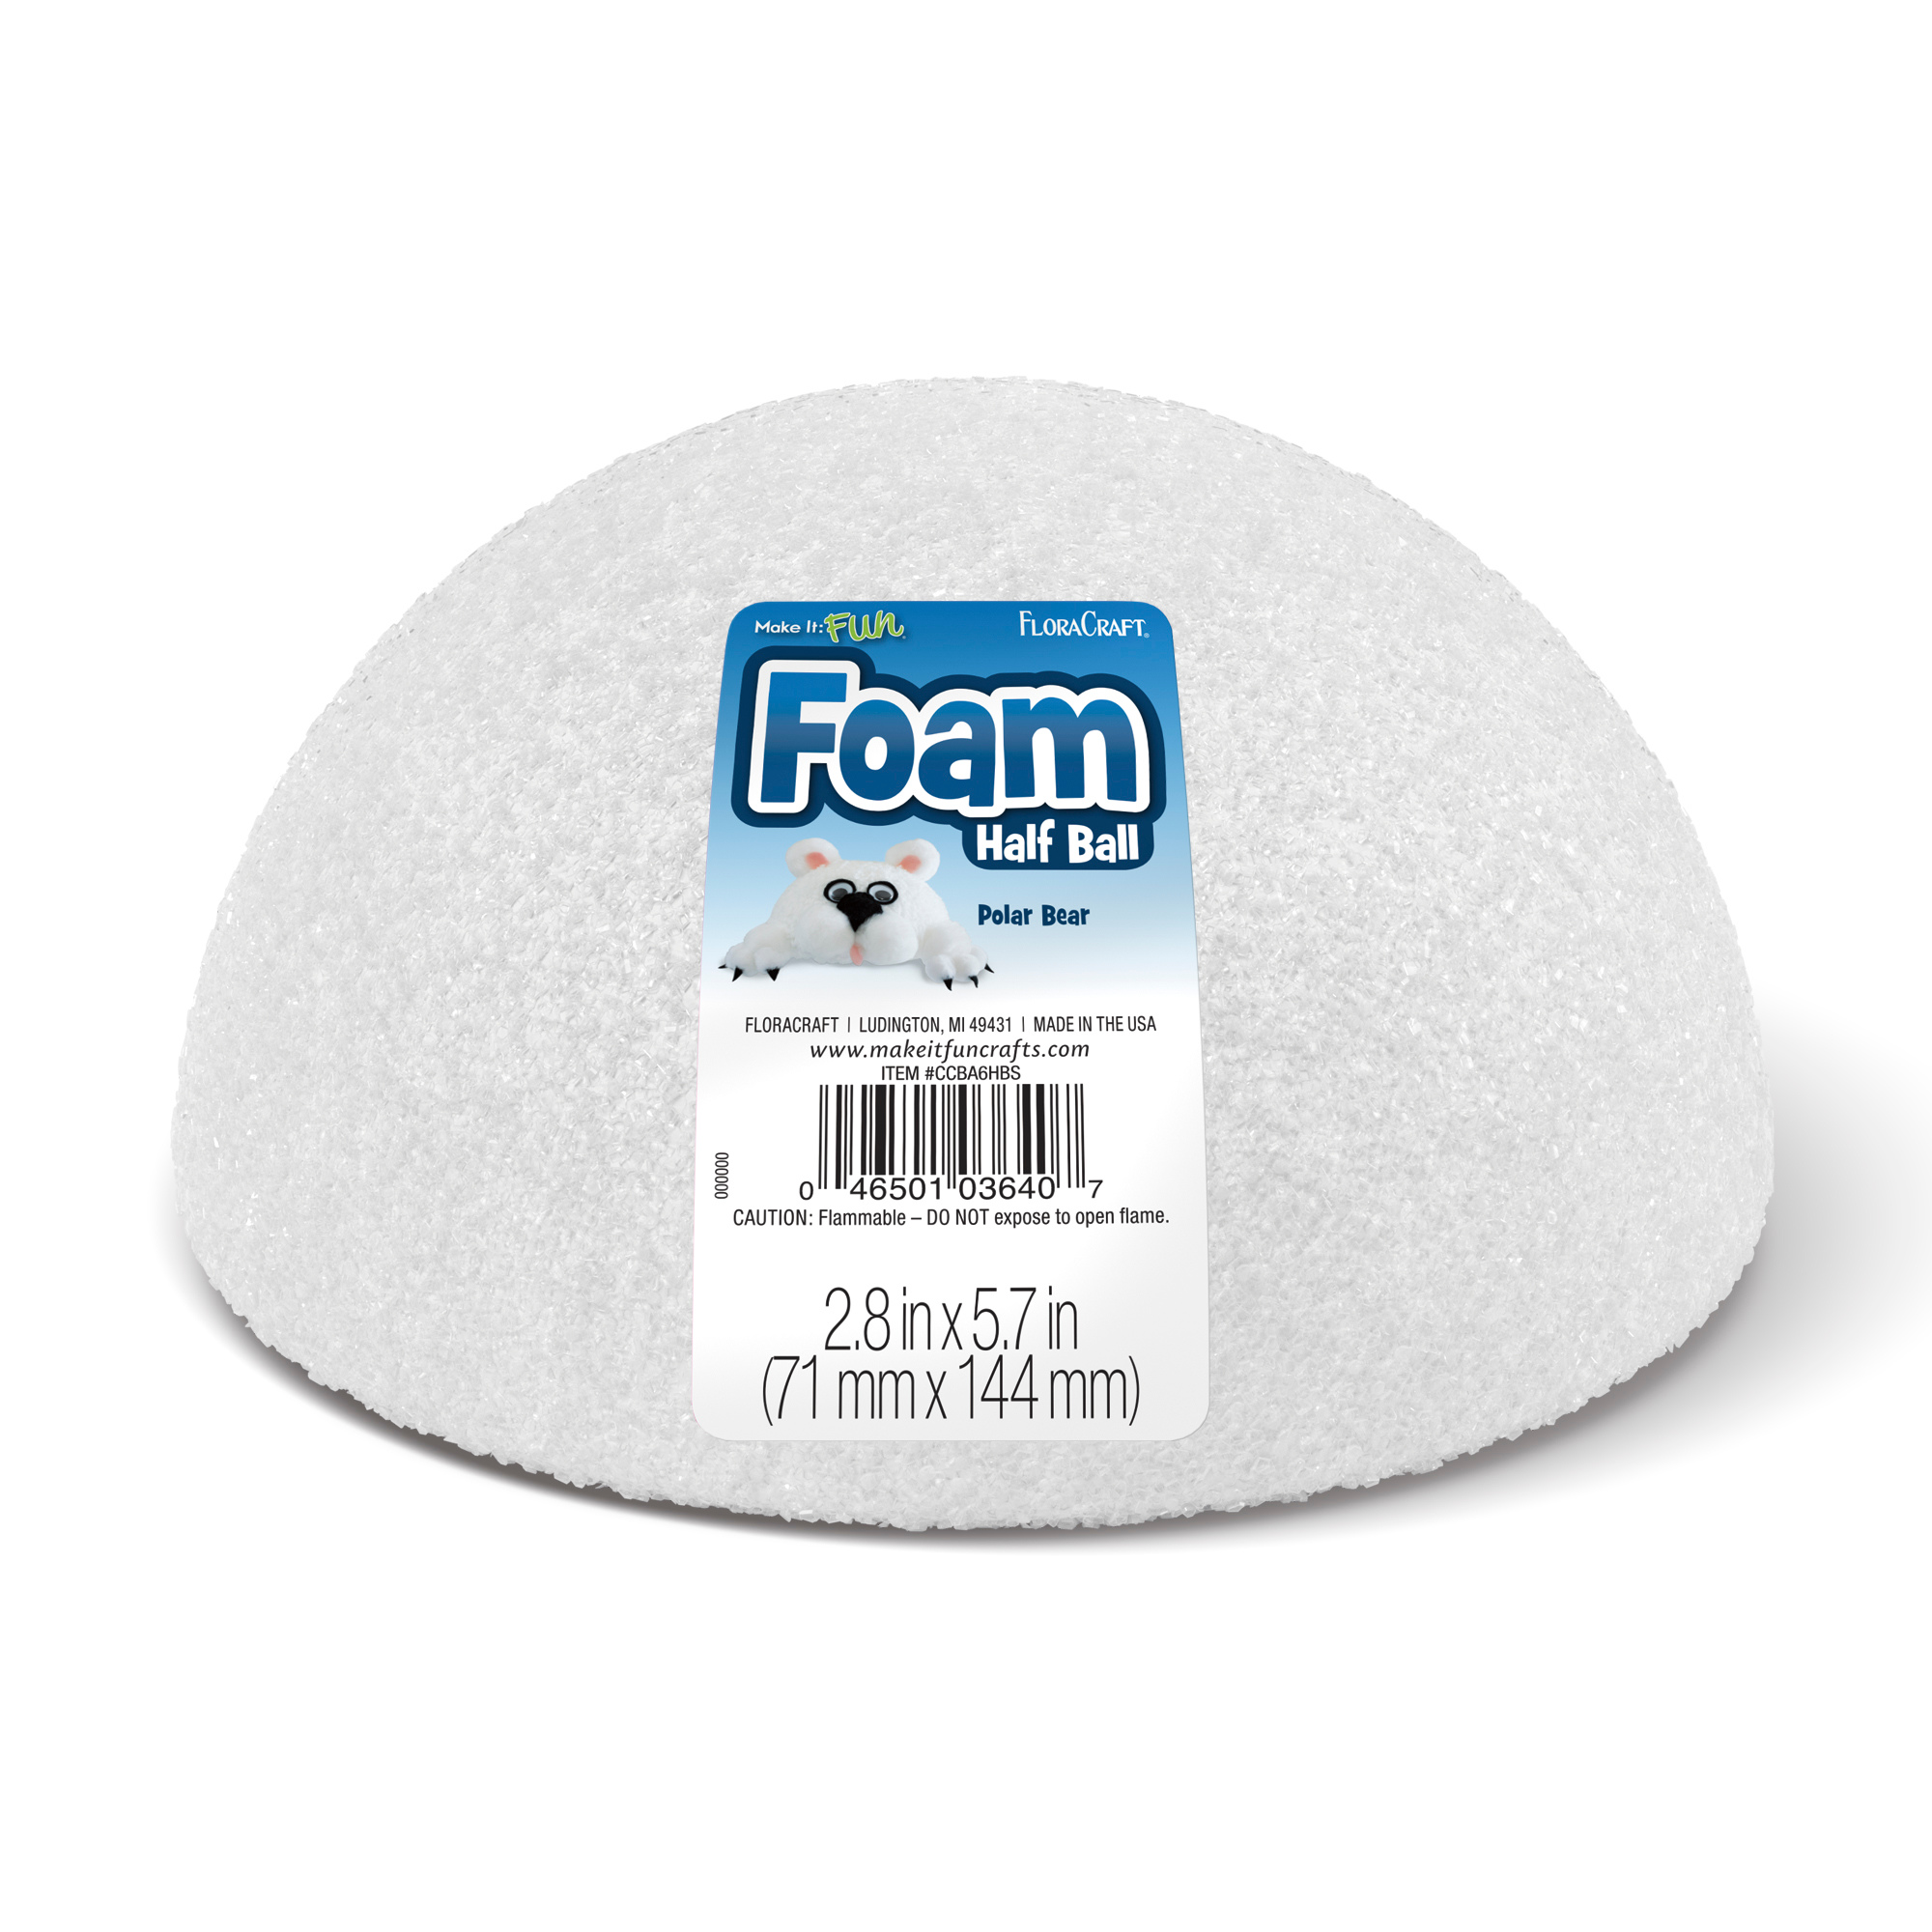
- Styrofoam half ball (2.8 inches x 5.7 inches). The cupcakes will sit on this ball. You can find this at Michael’s or other craft supply stores.
- Terracotta or ceramic pot. The styrofoam ball needs to fit snuggly inside of the pot.
- Appetizer toothpicks (they are a little longer than regular ones)
- Green tissue paper. This is used for the greenery of the bouquet.
How It’s Made
Decorating
- Beautifully decorated flower cupcakes are key to making the bouquet work.
- Decorate any cupcake like a flower by using your favorite buttercream frosting and a large drop flower piping tip [paid link].
- Starting in the center of a cupcake, squeeze lightly and begin to circle the cupcake in a rotation, continually wrapping around the previous layer of frosting.
- Continue all the way around until you reach the outer portion of the top of the cupcake and liner, leaving no empty space.
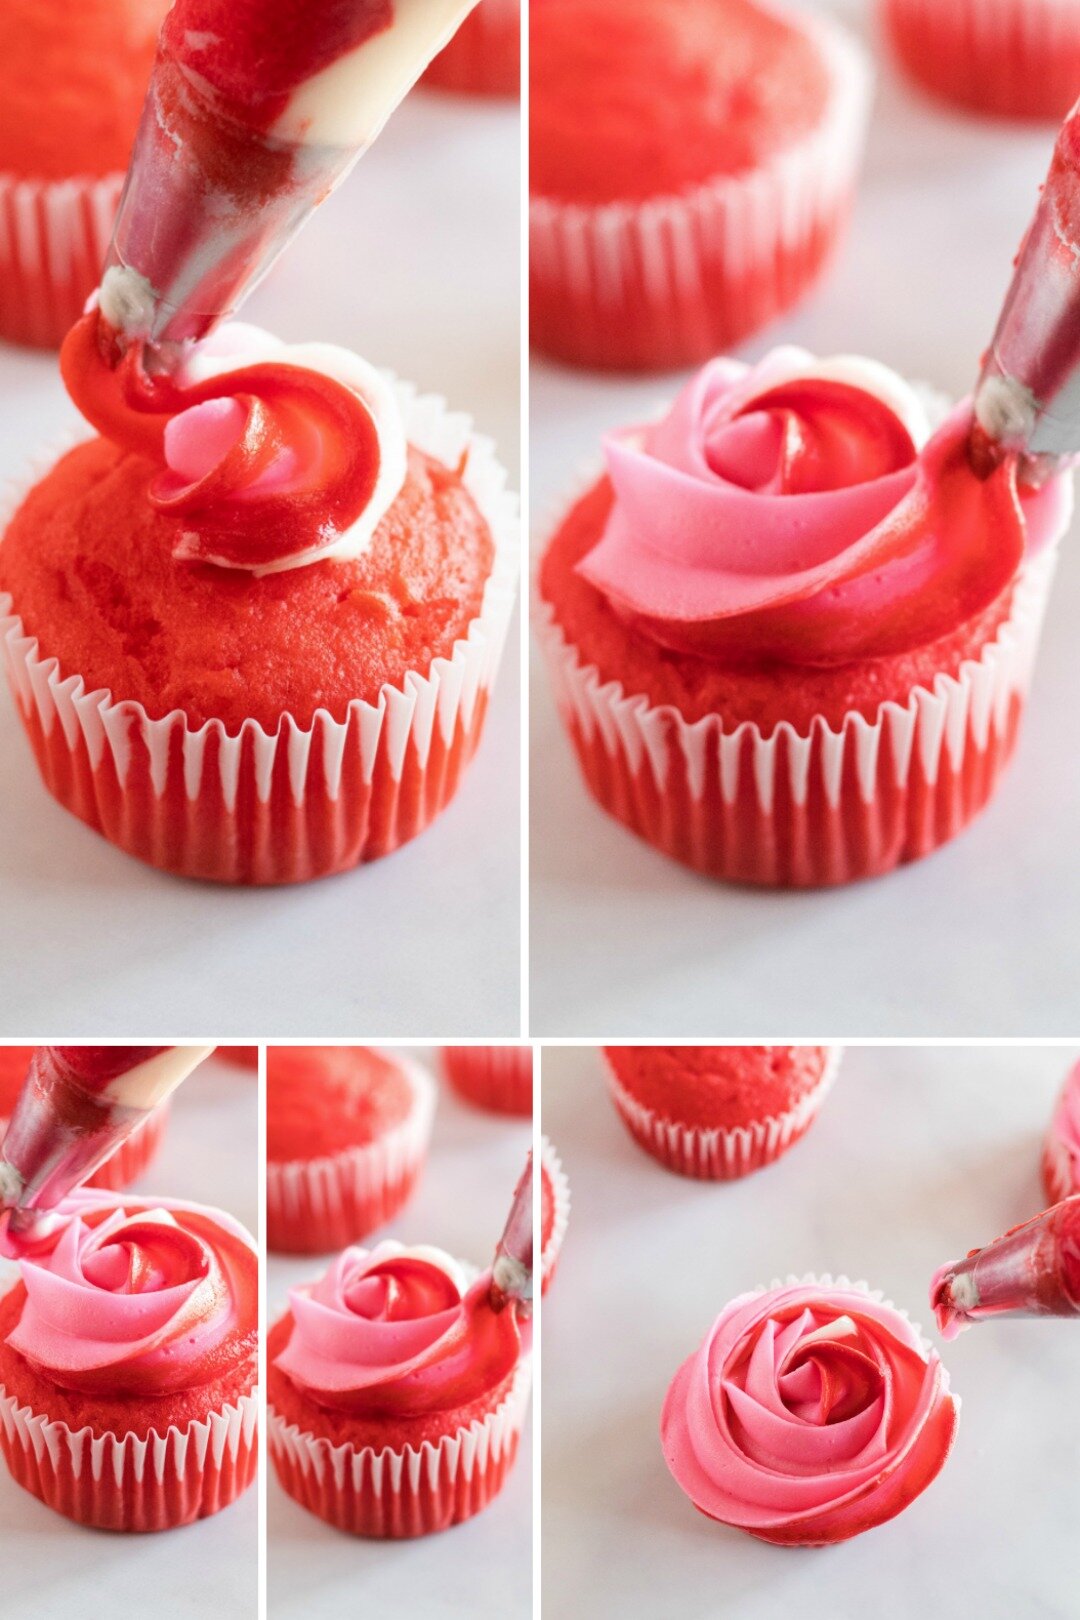
- When you have completely covered the top of the cupcake, stop applying pressure to the piping bag and pull the piping tip away from the cupcake to get the completed rose design.
- If you want to get fancy with your flowers, use multiple colors of frosting.
- Place each color in its own piping bag and then place the bags inside a another bag. Tip: Don’t overfill the bags, since they are all going into a fourth bag. If they are too full, they won’t fit and frosting will overflow out the top of the bag.
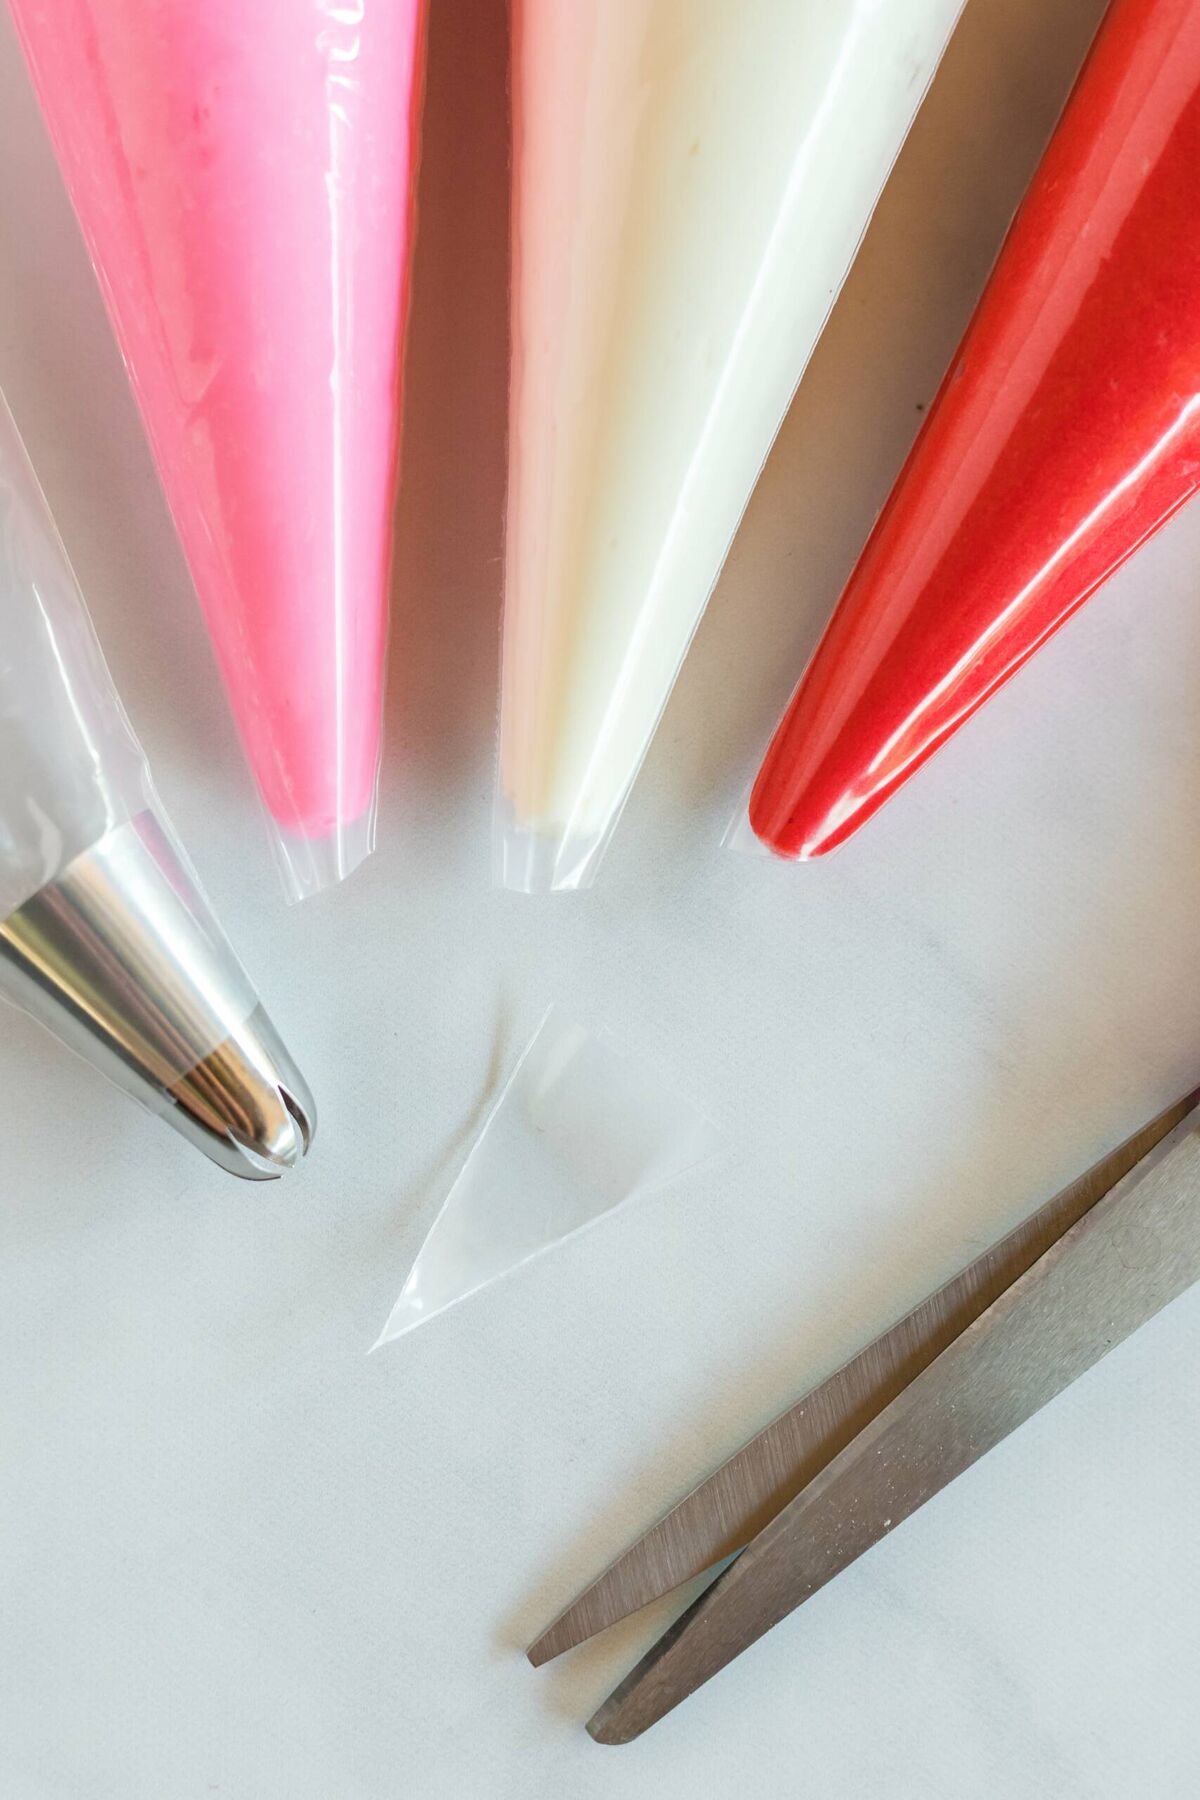
- When using multiple colors for flowers, turn the bag in your hand each time you begin a new cupcake so you will have a small variation of coloring for each flower. This makes the roses look more realistic.
Arranging
- Place the styrofoam dome into the pot and add two toothpicks for each cupcake, staggering them to give extra stability for the cupcakes. (One pick holds a cupcake fine, but I highly suggest two along with doubling the cupcake liners if the bouquet will be sitting out for a while or traveling.)
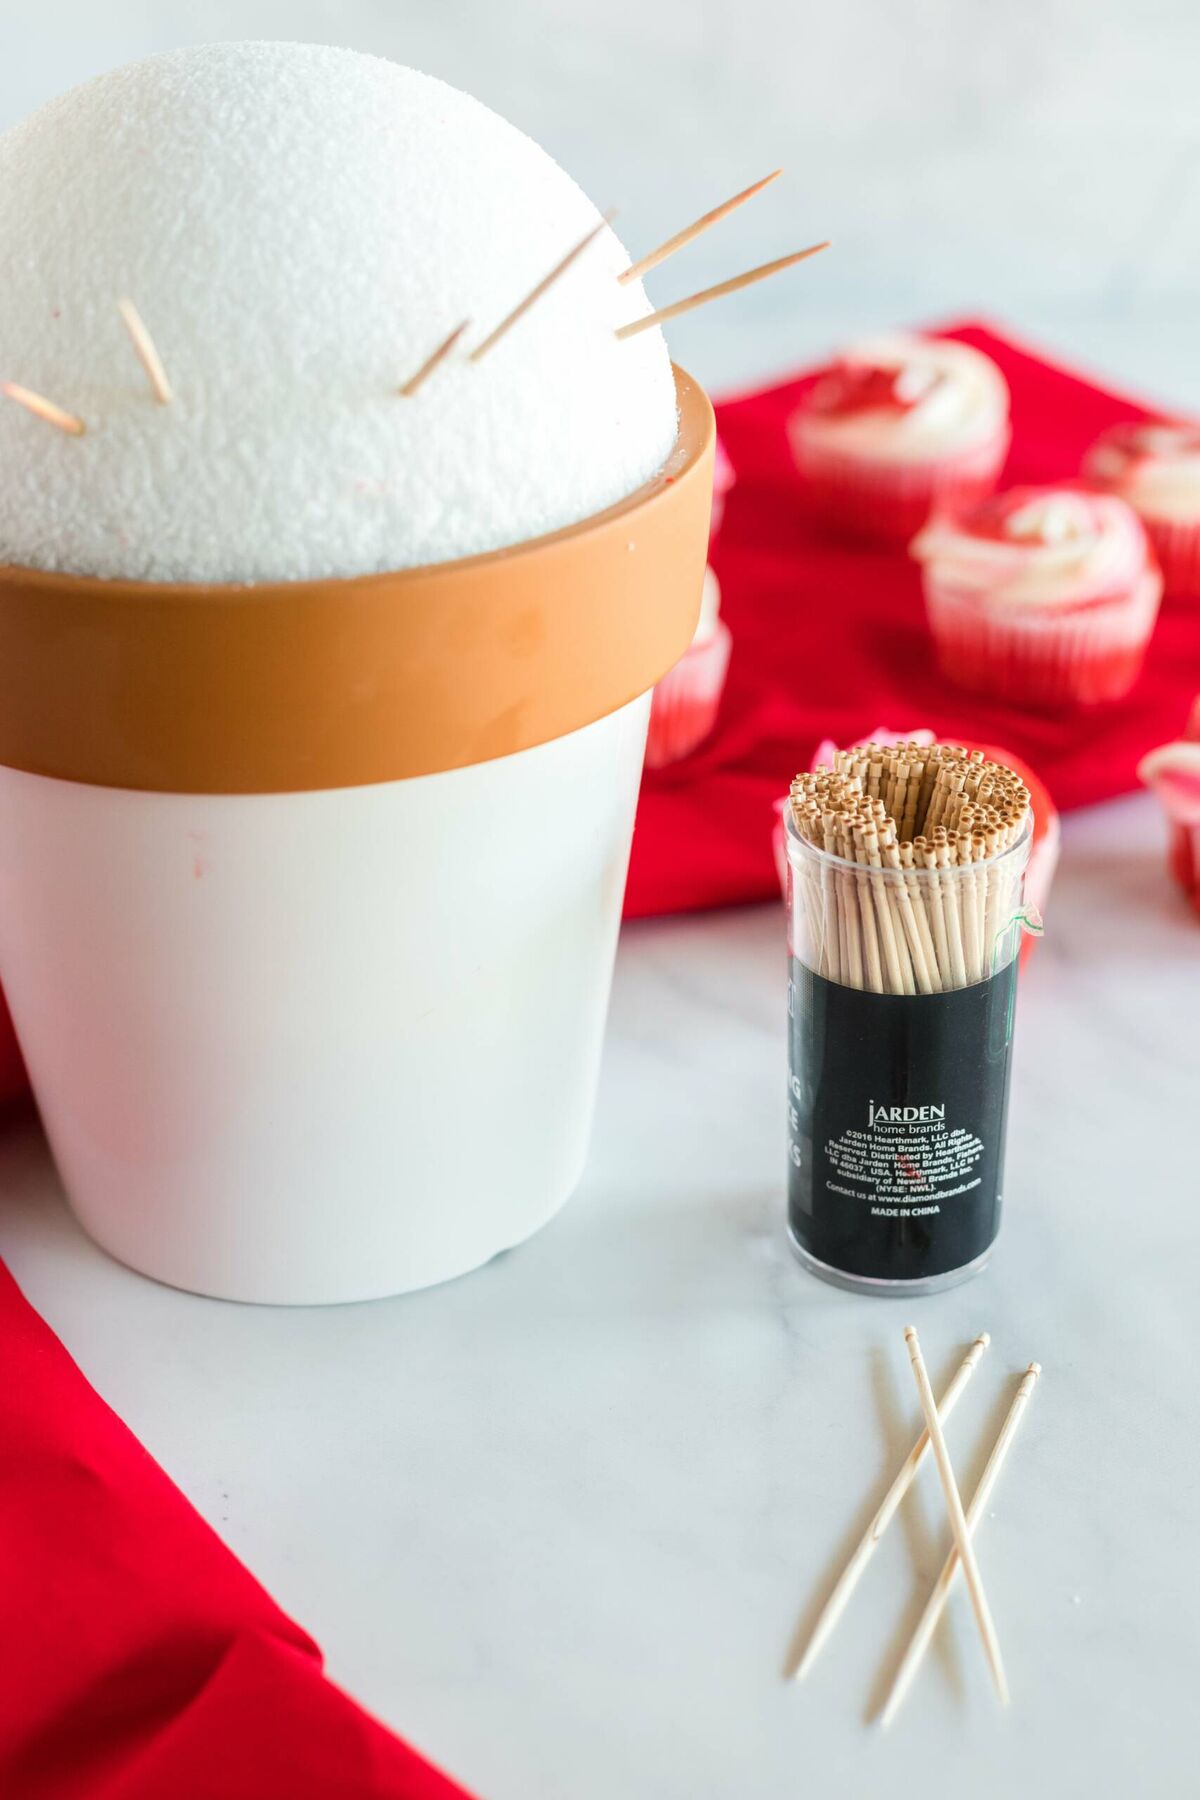
- Slowly begin adding cupcakes onto the picks, starting at the bottom and working your way up. Be sure to leave a little space in between the cupcakes for tissue paper leaves. (You can also add the tissue paper as you go, but I have found it easier to fill in spaces instead of having it be in the way as I place the cupcakes.) Once the dome is full to your liking, return the bouquet to the refrigerator until ready to add tissue leaves.
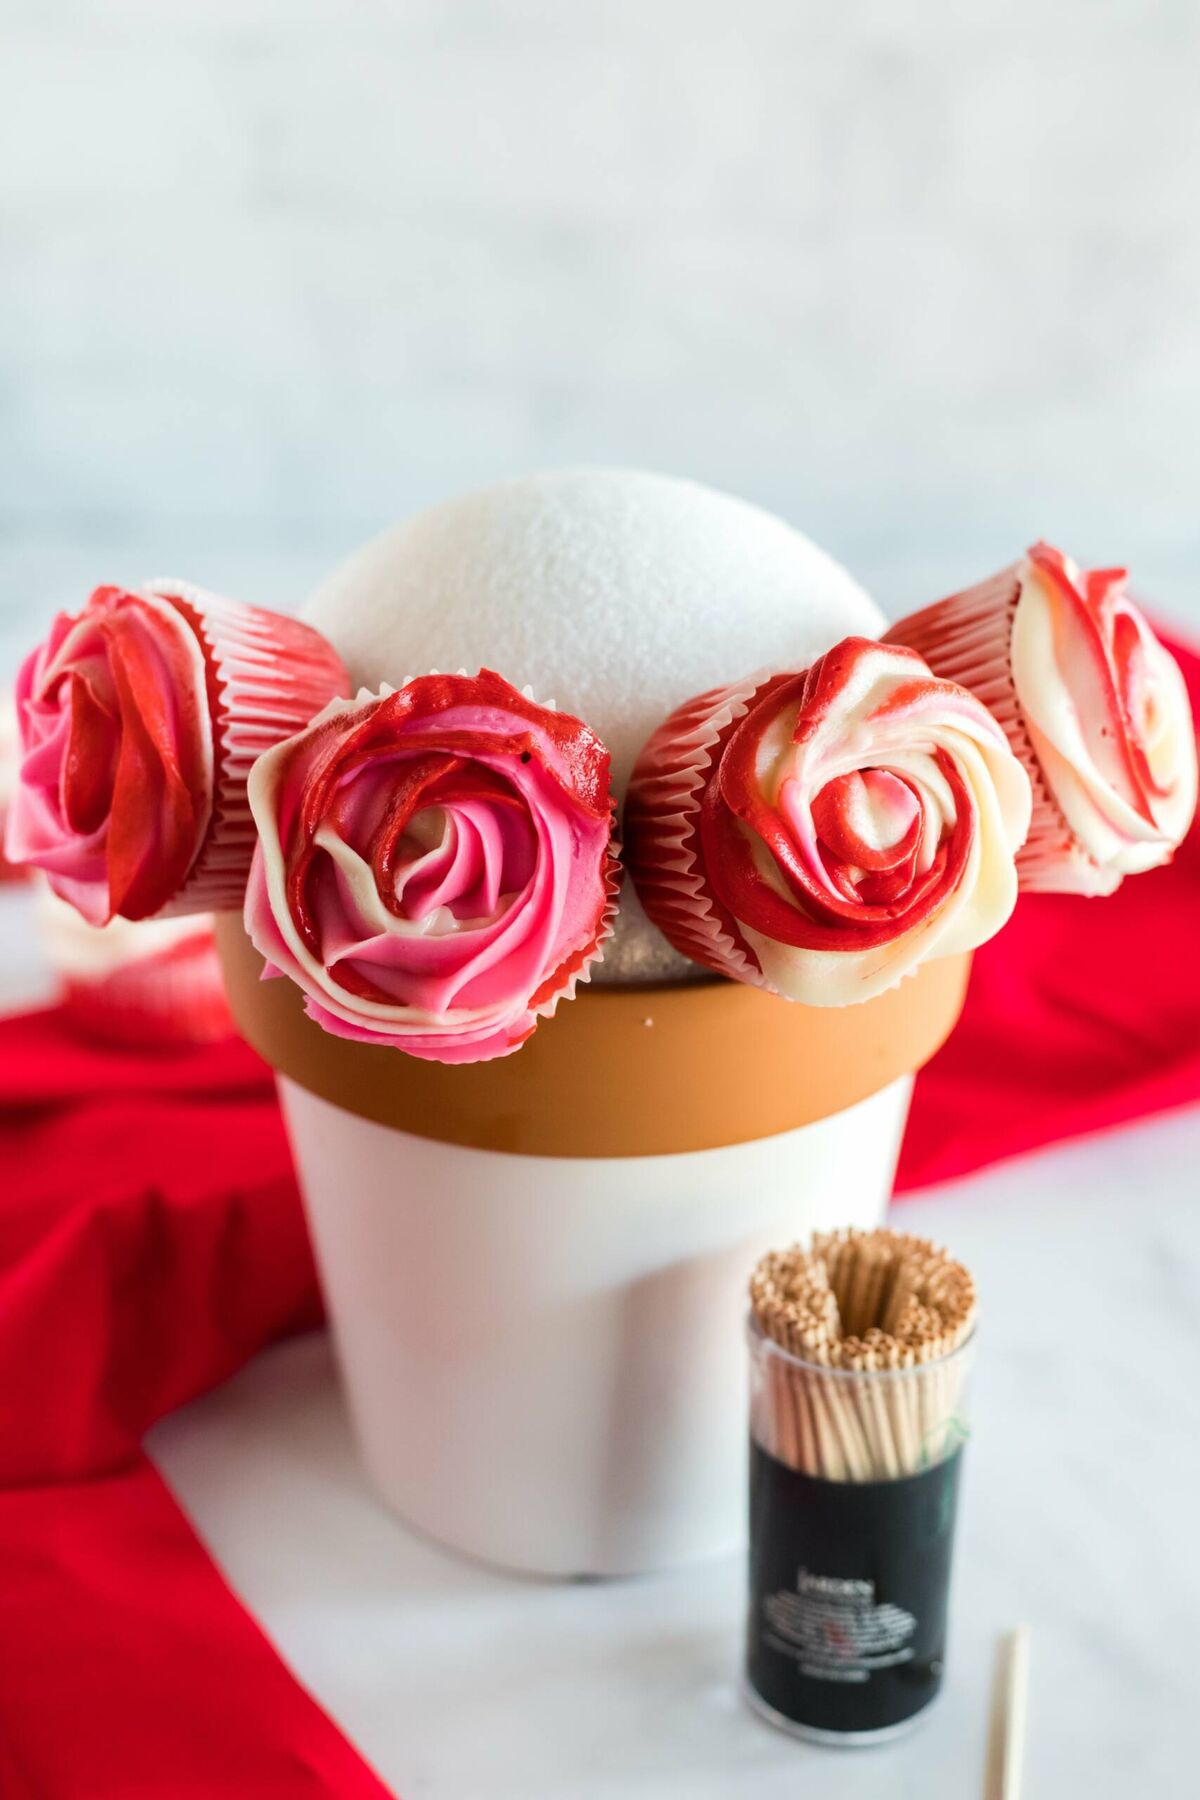
- Cut green tissue paper into small strips, approximately 5×5 inches. Fold them diagonally, and then fold them again, and then fold again, one last time. Twist the bottom of the corner and gently place in-between flower cupcakes, using smaller toothpicks if needed. Fluff the tissue paper as needed to fill in the spaces between cupcakes.
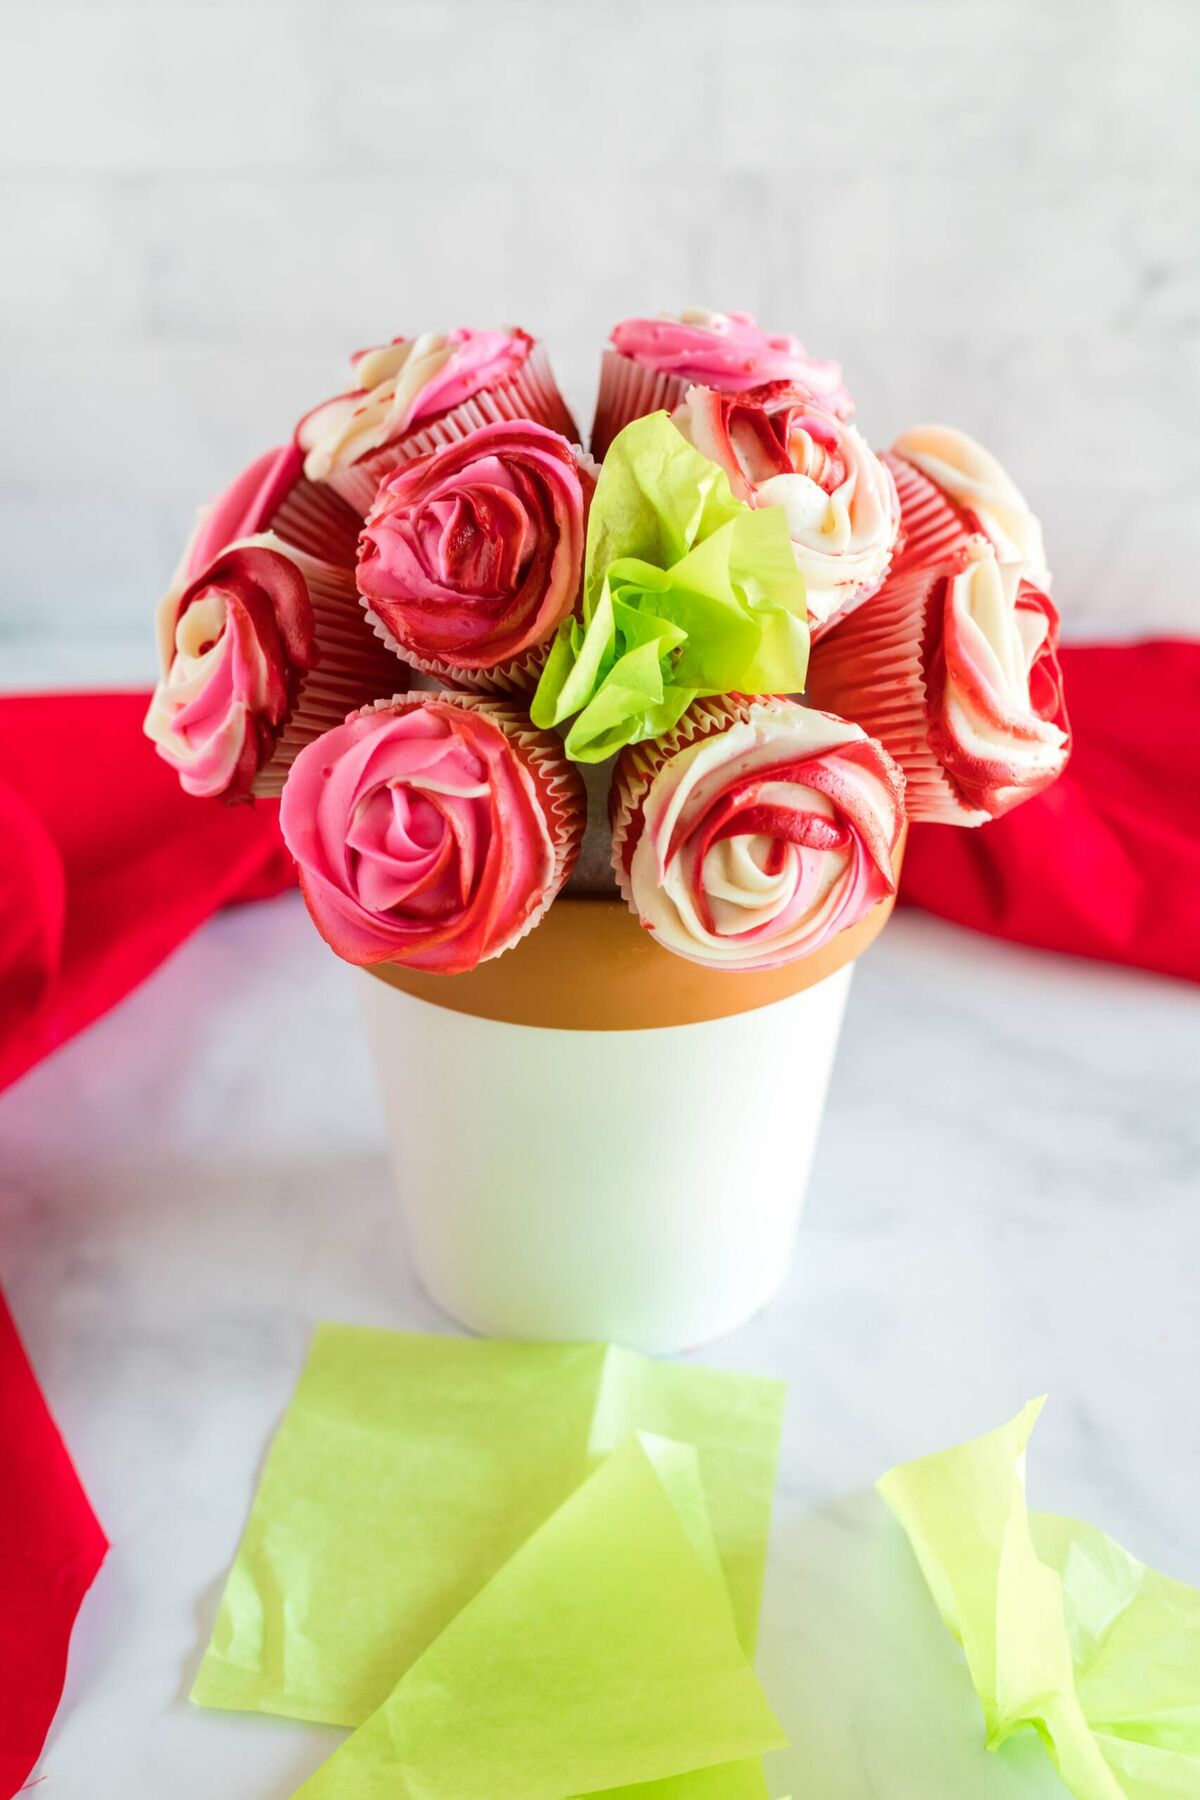
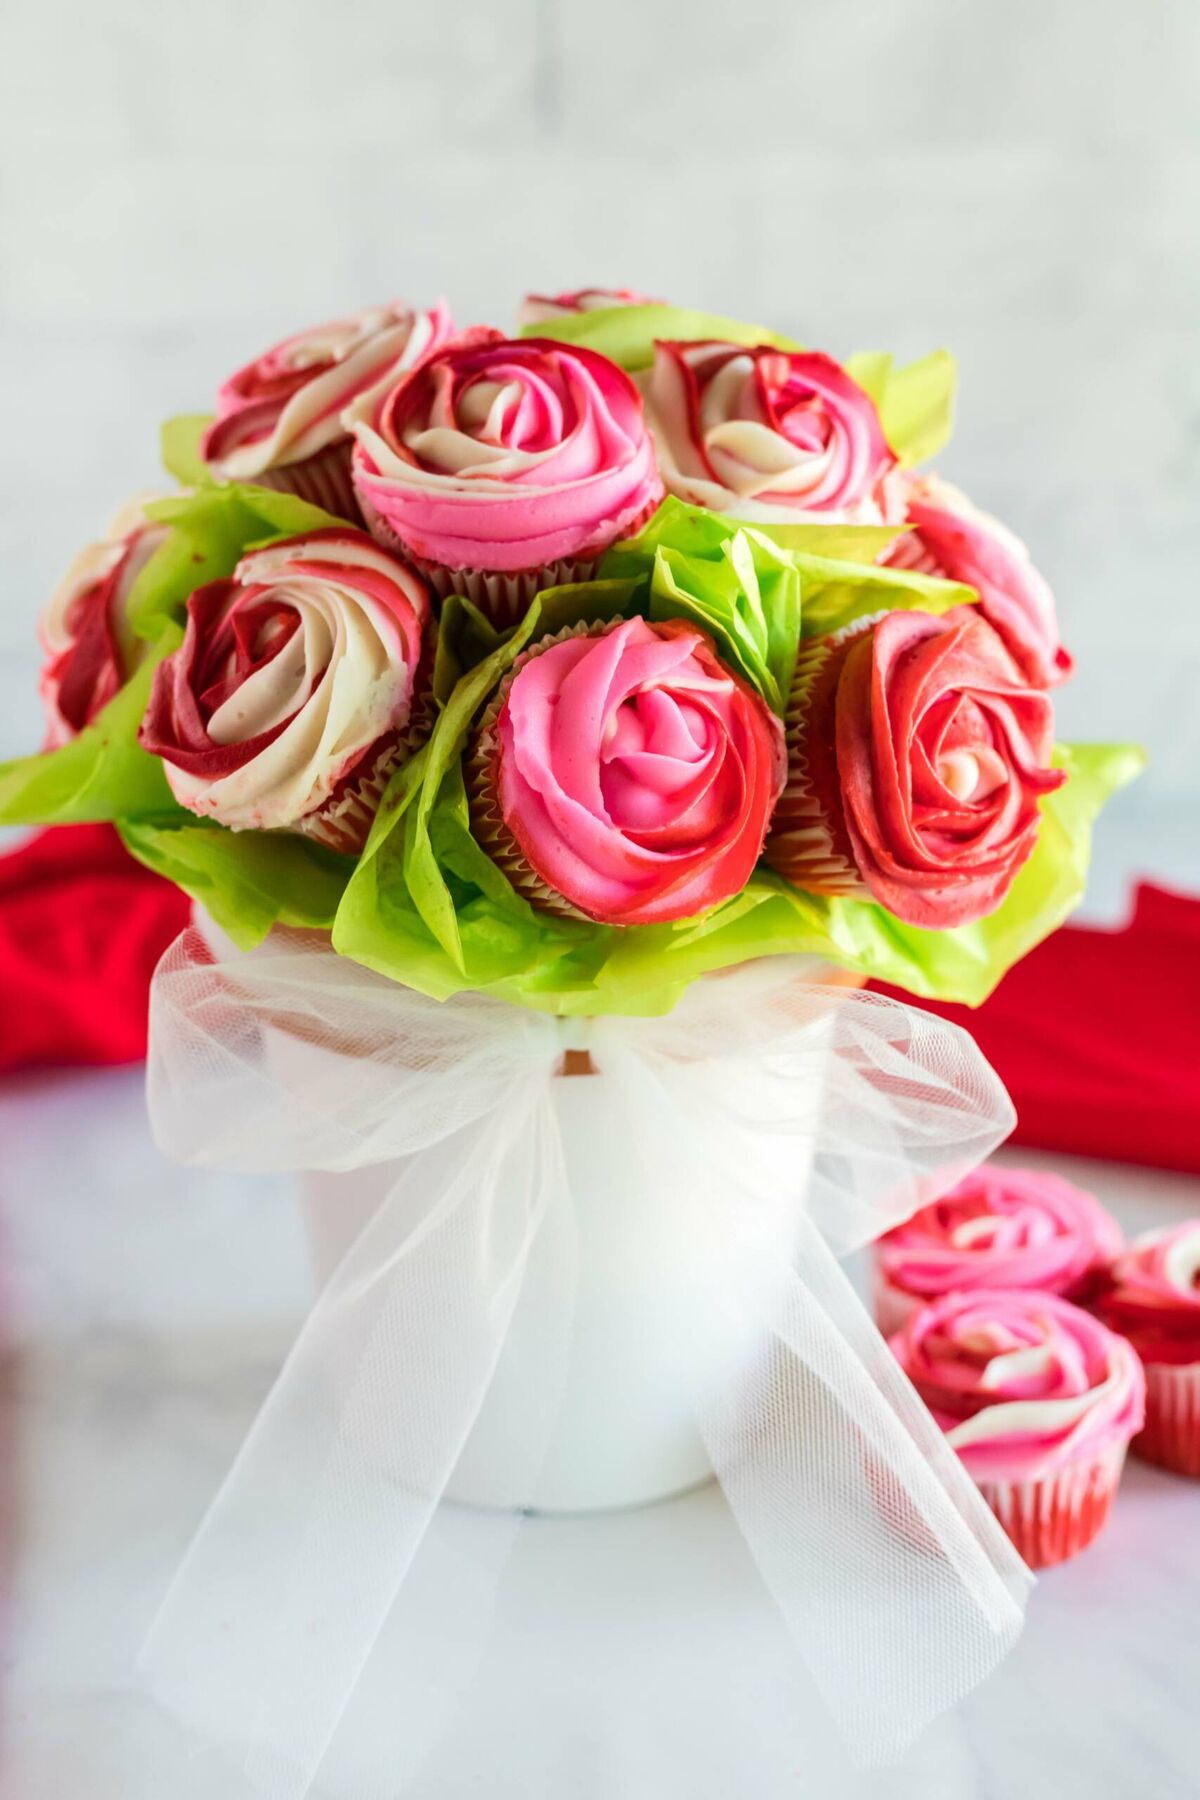
- Add a ribbon or tulle to your cupcake bouquet for an extra touch. (I have also grabbed plastic card holders from florists and used them to add a small card.)
Flavor Ideas
You can use any cupcake flavor for your cupcake bouquet arrangement. You can never go wrong with my best vanilla cupcakes, chocolate cupcakes, lemon cupcakes, or strawberry cupcakes!
This cupcake flower bouquet requires 12 cupcakes to create. A typical cupcake recipe yields about 24 cupcakes, which should ideally create 2 full bouquets.
To avoid the frosting flowers getting smeared, I recommend wrapping the entire bouquet with a large piece of plastic or cellophane. Temporarily stick some wooden dowels into the styrofoam ball between the cupcakes to prevent the plastic from touching the frosting.

How to Make a Cupcake Bouquet
Cupcake bouquets make such wonderful gifts. They are gorgeous to look at and delicious to eat! Luckily, they aren't that hard to make once you know the technique.
Materials
- 12 cupcakes, (You can use more than 12 if you want to mix in minis.)
- Buttercream frosting
- Four frosting bags
- Wilton 2D frosting tip
- Food coloring (I used red and pink, leaving white frosting)
- Appetizer toothpicks (These are slightly larger than regular toothpicks.)
- Green tissue paper
- Terra Cotta or ceramic pot
- Half dome styrofoam (2.8 inches x 5.7 inches). It should fit snugly into the pot and you can use a full round and cut to fit, if needed.
Instructions
Flower Cupcake Instructions
- Decorate any cupcake like a flower by using your favorite buttercream frosting and a star piping tip.
- Starting in the center of the cupcake, squeezing lightly, begin to circle the cupcake in a rotation, continually wrapping around the previous layer of frosting.
- Continue all the way around until you reach the outer portion of the top of the cupcake and liner, leaving no empty space.
- When you have completely covered the top of the cupcake, just pull buttercream away and you will have the completed rose design.
Arranging Instructions
- Place the styrofoam into the pot and add two toothpicks for each cupcake, staggering them to give extra stability for the cupcakes. (One pick holds it fine, but if the bouquet will be sitting out for a while, or travelling, I highly suggest two, along with doubling the cupcake liners.)
- Slowly begin adding cupcakes onto the picks, starting at the bottom and working your way up. Be sure to leave a little space in between the cupcakes for tissue paper leaves. (You can also add the tissue paper as you go, but I have found it easier to fill in spaces instead of having it be in the way as I place the cupcakes.) Once the dome is full to your liking, return the bouquet to the refrigerator until ready to add tissue leaves.
- Cut green tissue paper into small strips, approximately 5x5 inches. Fold them diagonally, and then fold them again, and then fold again, one last time. Twist the bottom of the corner and gently place in-between flower cupcakes, using smaller toothpicks if needed. Fluff the tissue paper as needed to fill in the spaces between cupcakes.
- Add a ribbon or tulle for an extra touch. (I have also grabbed plastic card holders from florists and used them to add a small card.)
Notes
You can use any cupcake flavor for your arrangement. You can never go wrong with vanilla, chocolate, lemon, or strawberry!
If you want to get fancy with your flowers, use multiple colors of frosting.
Place each color in its own piping bag and then place the bags inside a another bag. TIP: Don’t over fill the bags, since they are all going into a fourth bag. If they are too full, they won’t fit and will overflow out the top of the bag.
When using multiple colors for flowers, turn the bag in your hand each time you begin a new cupcake so you will have a small variation of coloring for each flower. This makes the roses look more realistic.
Recommended Products
As an Amazon Associate and member of other affiliate programs, I earn from qualifying purchases.
Loading comments...