Working with Gingerbread House Kits
Gingerbread house kits make creating these cute holiday decorations an easy and fun family project. Here’s everything you need to know to successfully decorate a gingerbread house from a kit!

Why Use a Kit?
I’m a total newbie at making gingerbread houses. I’ve cobbled something together with graham crackers once or twice, but I’d never even attempted the real deal.
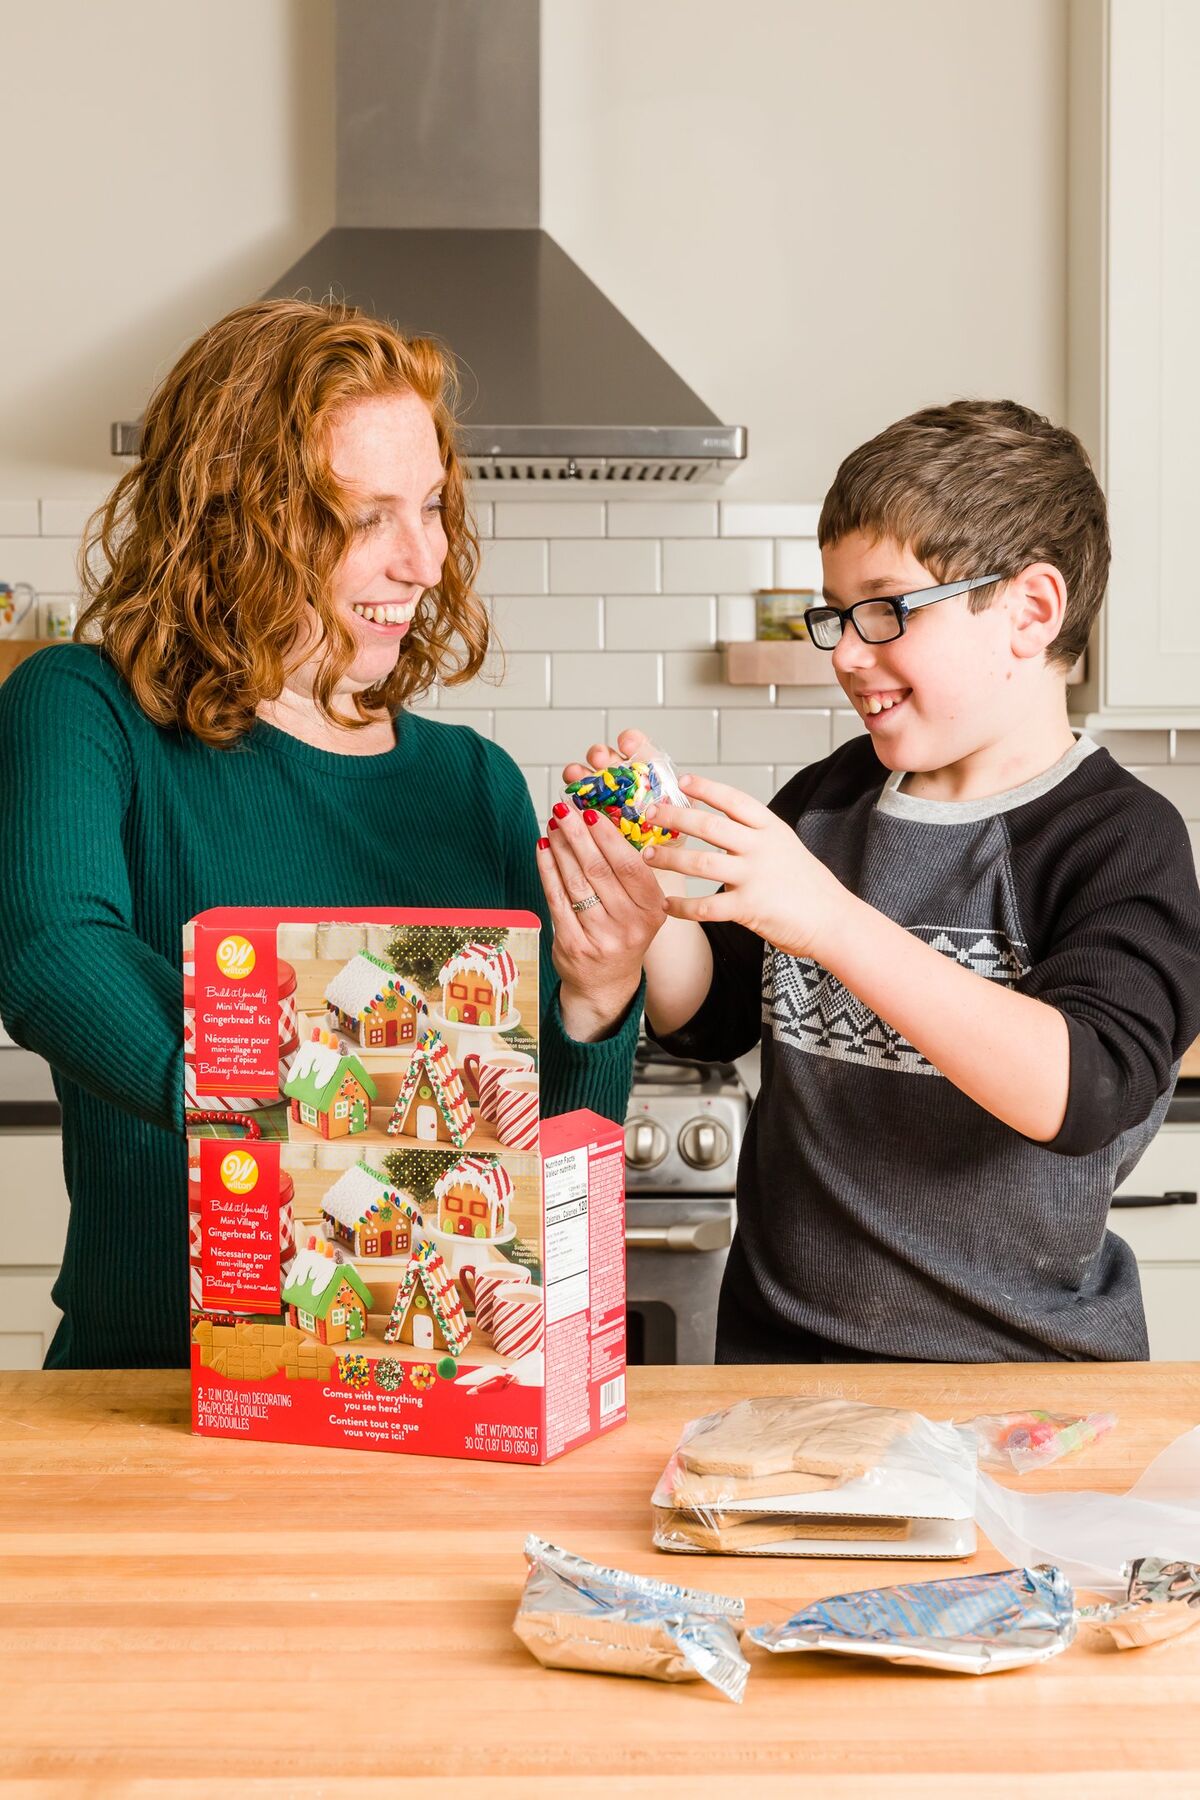
Using a kit rather than making a from-scratch gingerbread house makes life SO much easier.
Myles and I used Wilton’s Welcome to Christmas Mini Christmas Village Kit [paid link].
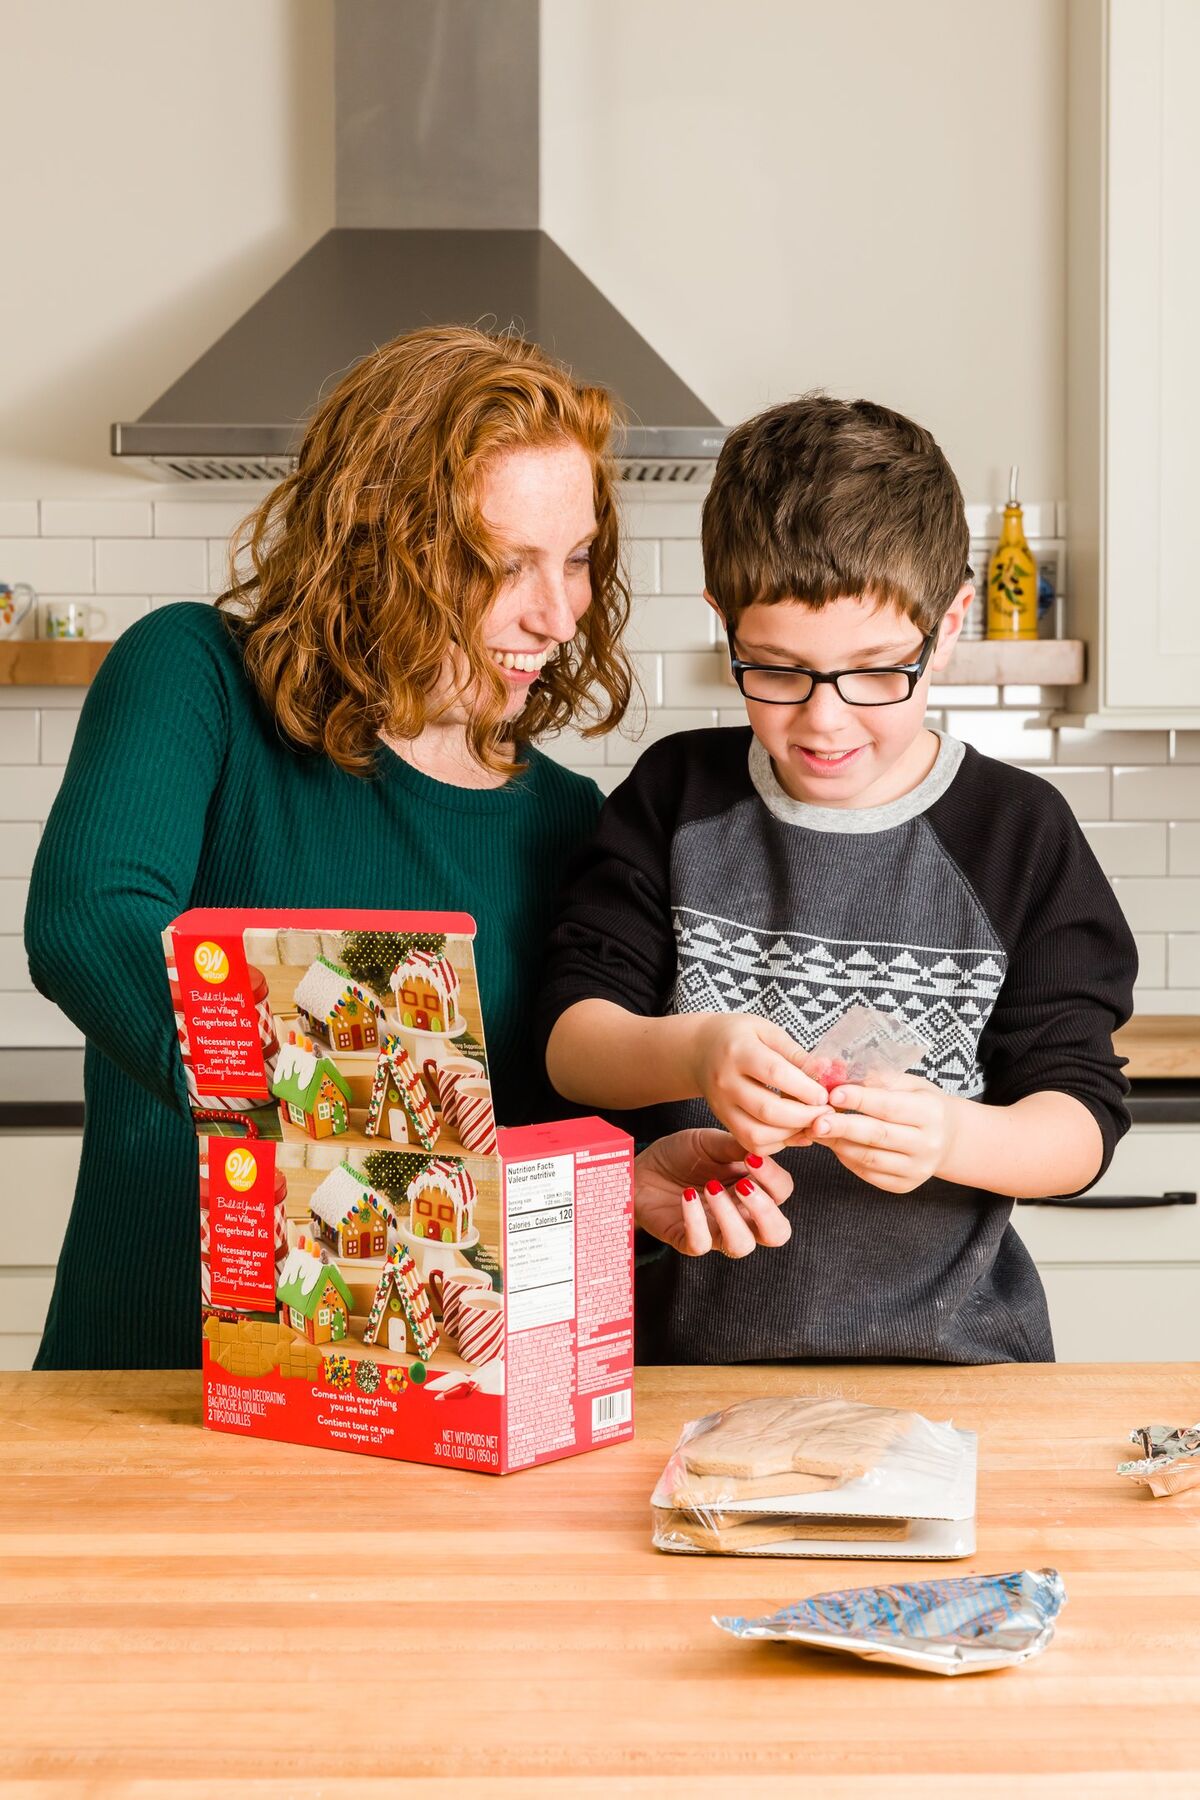
There are so many things that I loved about using a kit:
- It has all of the gingerbread pieces that you need.
- It comes with icing and piping bags.
- It comes with candy decorations.
In short, just about everything you need is in the box!
Selecting a Kit
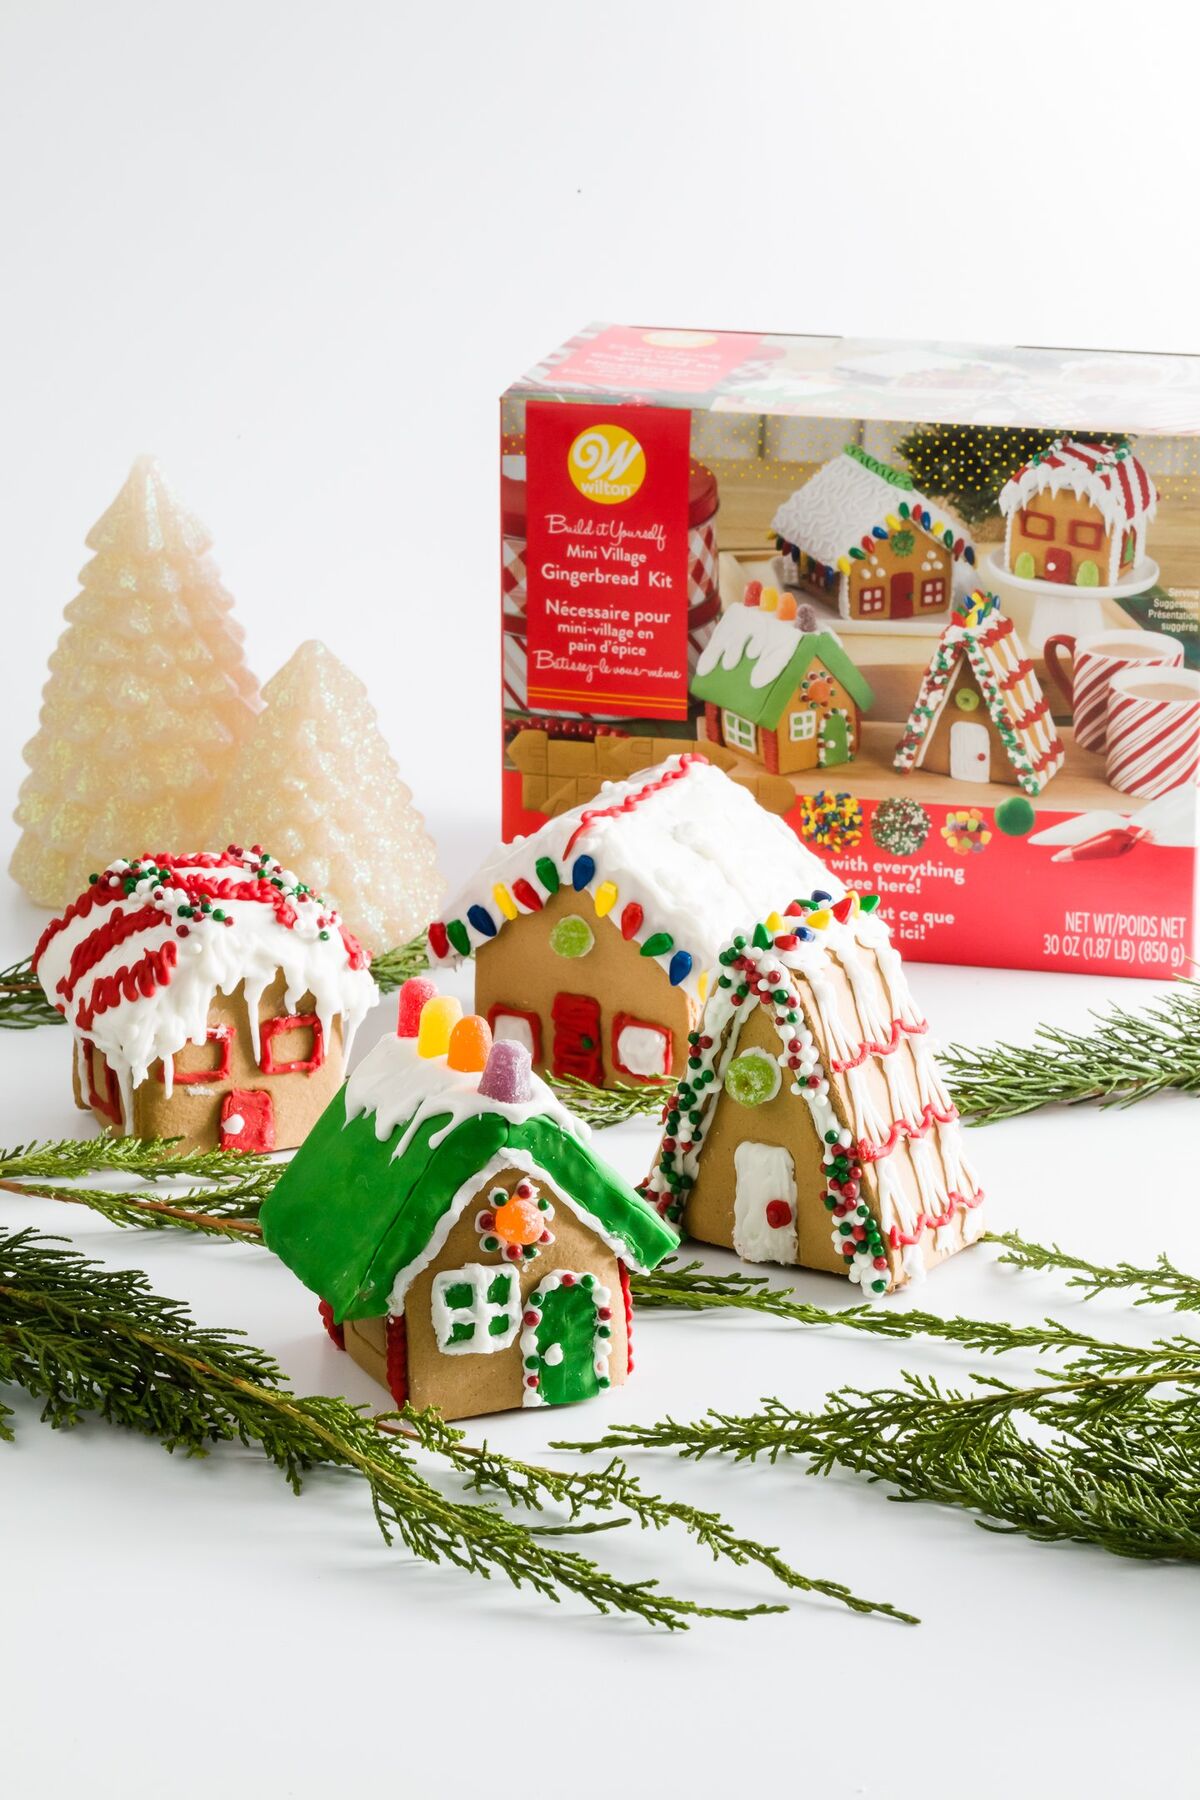
There are so many gingerbread house kits [paid link] to choose from, ranging from classics to a Super Mario Brothers One [paid link] to a lighthouse [paid link] to an adorable barn [paid link].
If you are working with kids, I recommend getting one with multiple houses.
- More houses in the box means that if you mess one up by accident, you still have three left.
- If more than one kid is involved, kids can easily share the box. This may not work if every kid want to make the A-frame, for example. Don’t say I didn’t warn you that could happen.
- You can spread the craft over the whole holiday season decorating a house whenever you get a block of time.
When you use a kit with smaller houses, you can also use them to decorate a cake.
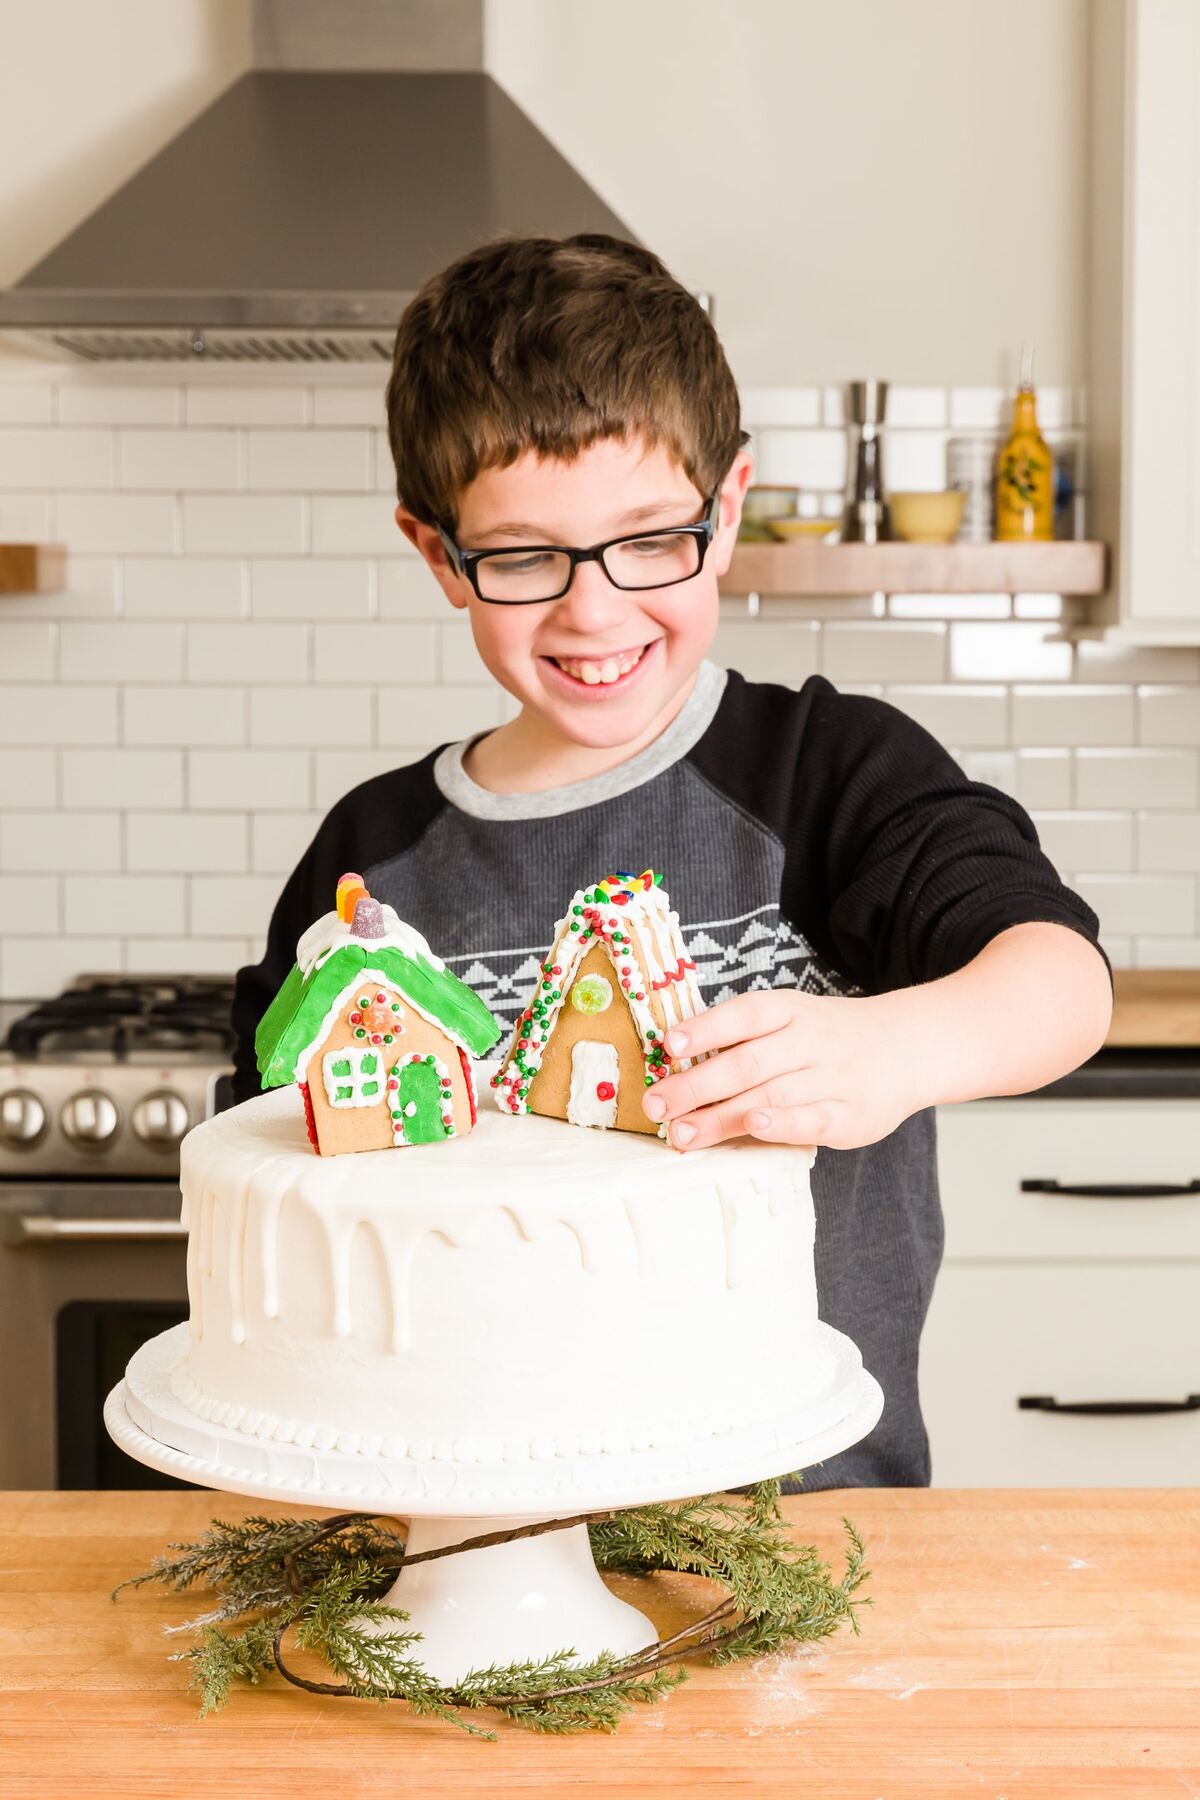
They look so adorable on top of any flavor Christmas cake or even a plain vanilla cake.
Assembly and Decorating Tips
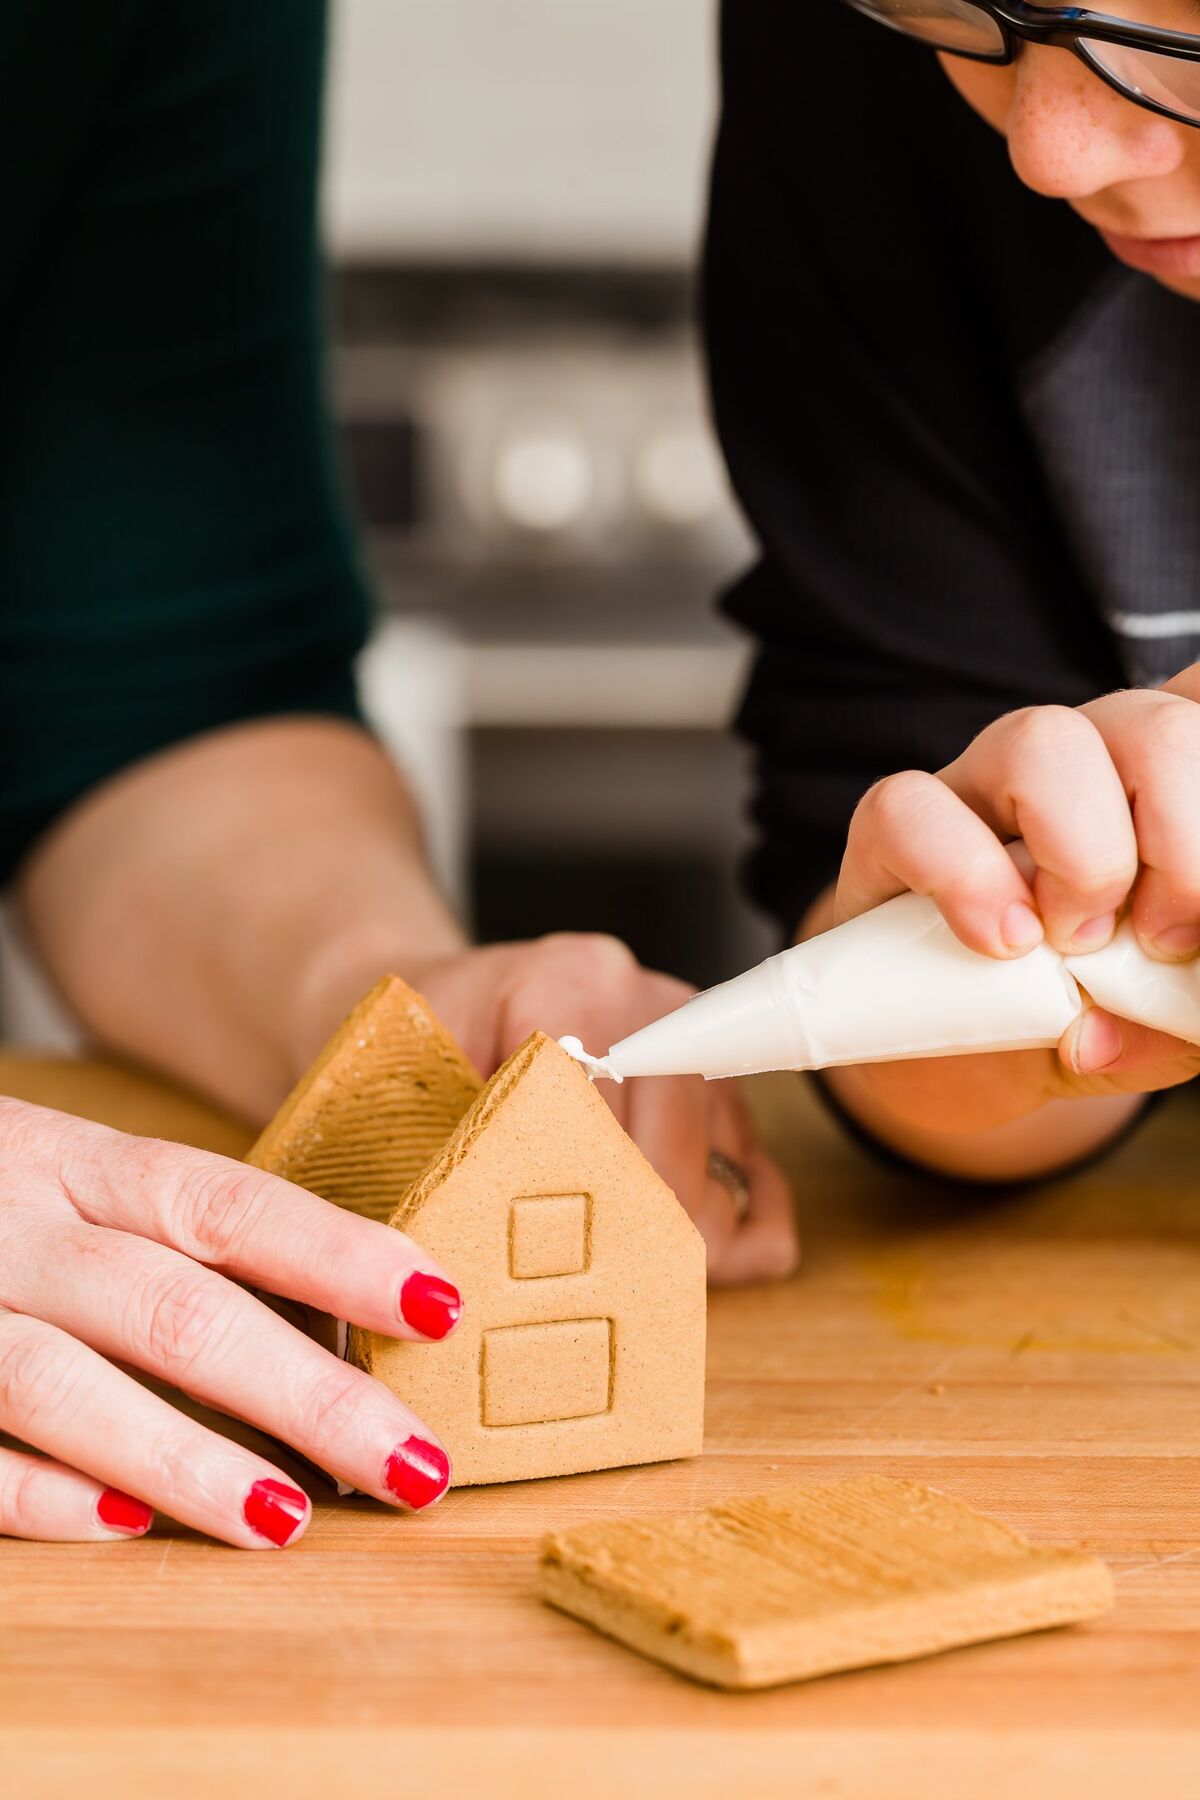
My number one tip for making gingerbread houses is to read the manual first so you can schedule enough time to make the houses.
Making gingerbread houses is a full day project. After you add the icing to glue the gingerbread walls together, it takes several hours for the icing to set – only then can you add the roof. Then, you wait another few hours before decorating.
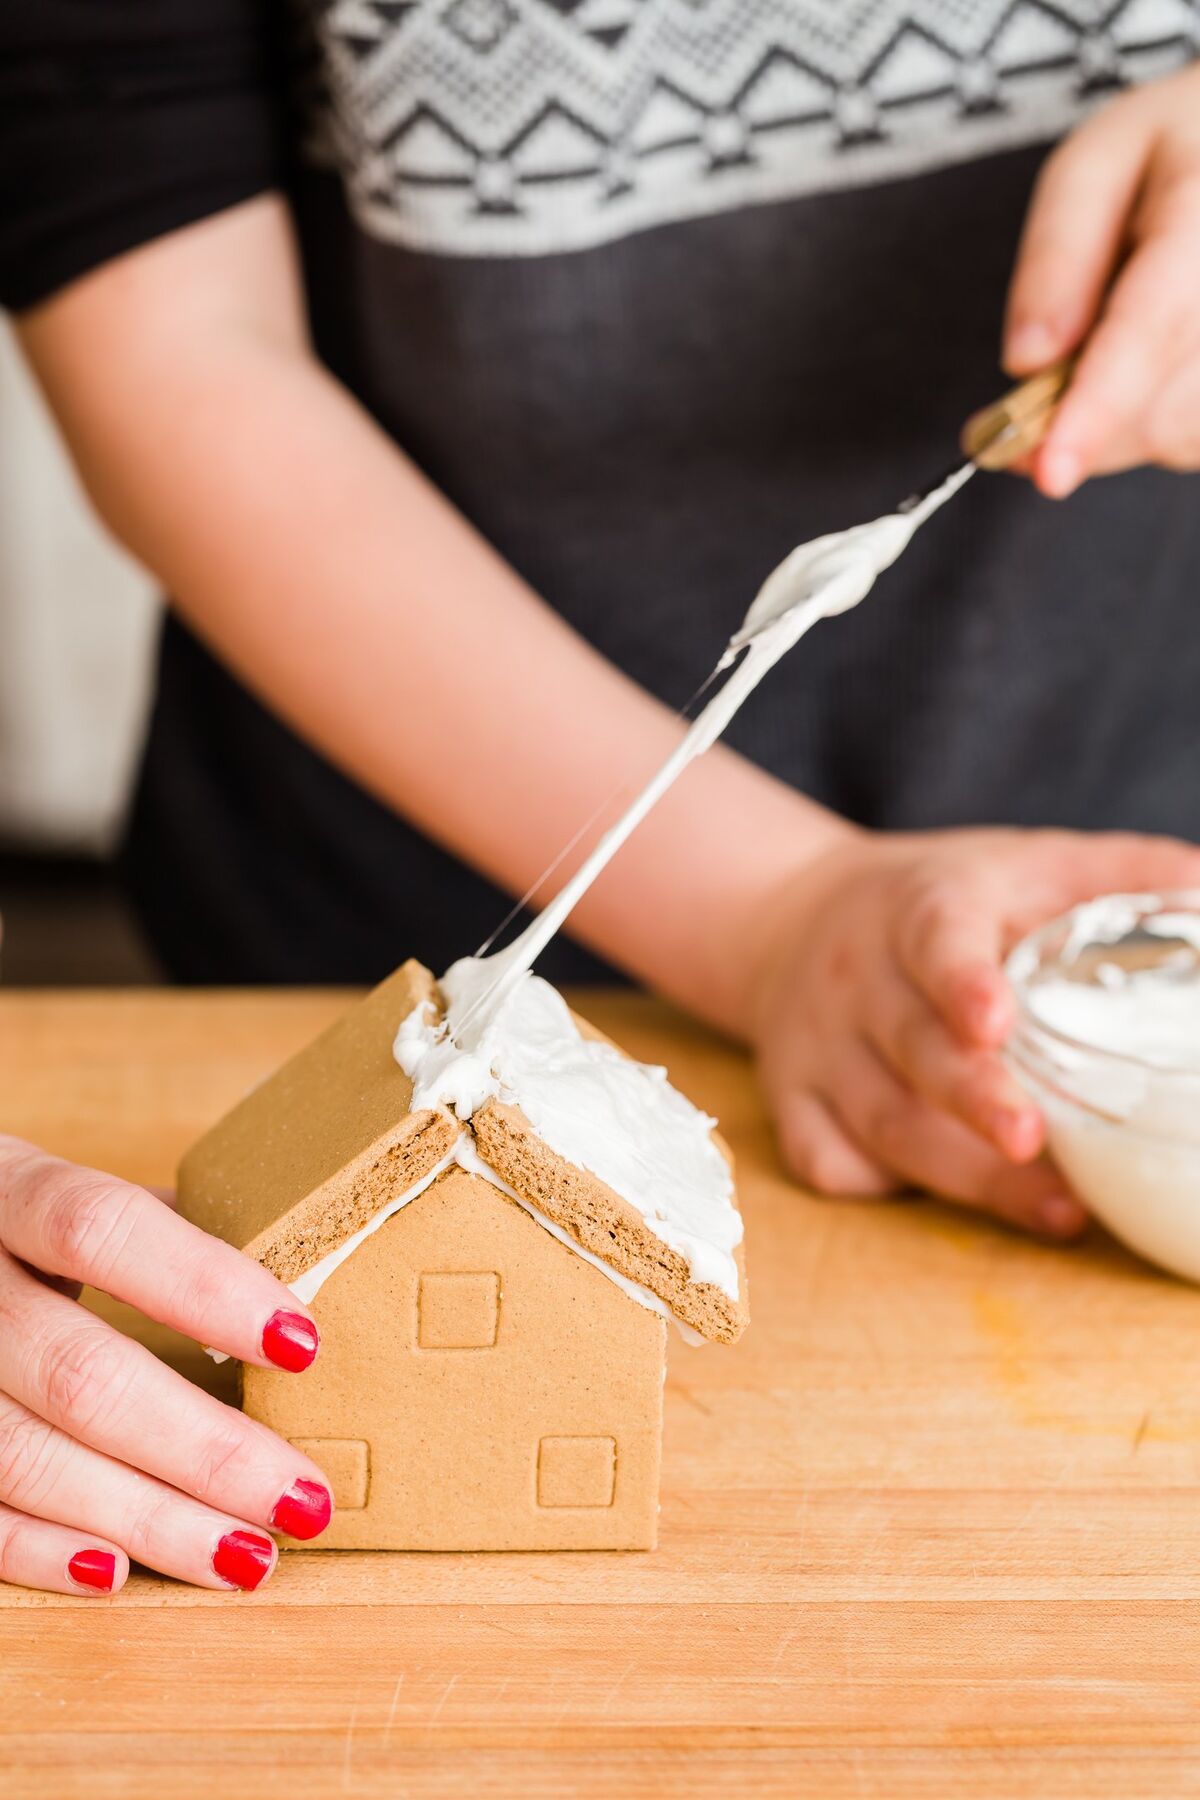
The only thing we used that wasn’t in the kit was marshmallows. There wasn’t quite enough white icing in the box to make the thick snowy roofs that we wanted.
Tip: We found that the best way to make snowy rooftops is to melt marshmallows in the microwave and spread the melted marshmallows over the gingerbread pieces.
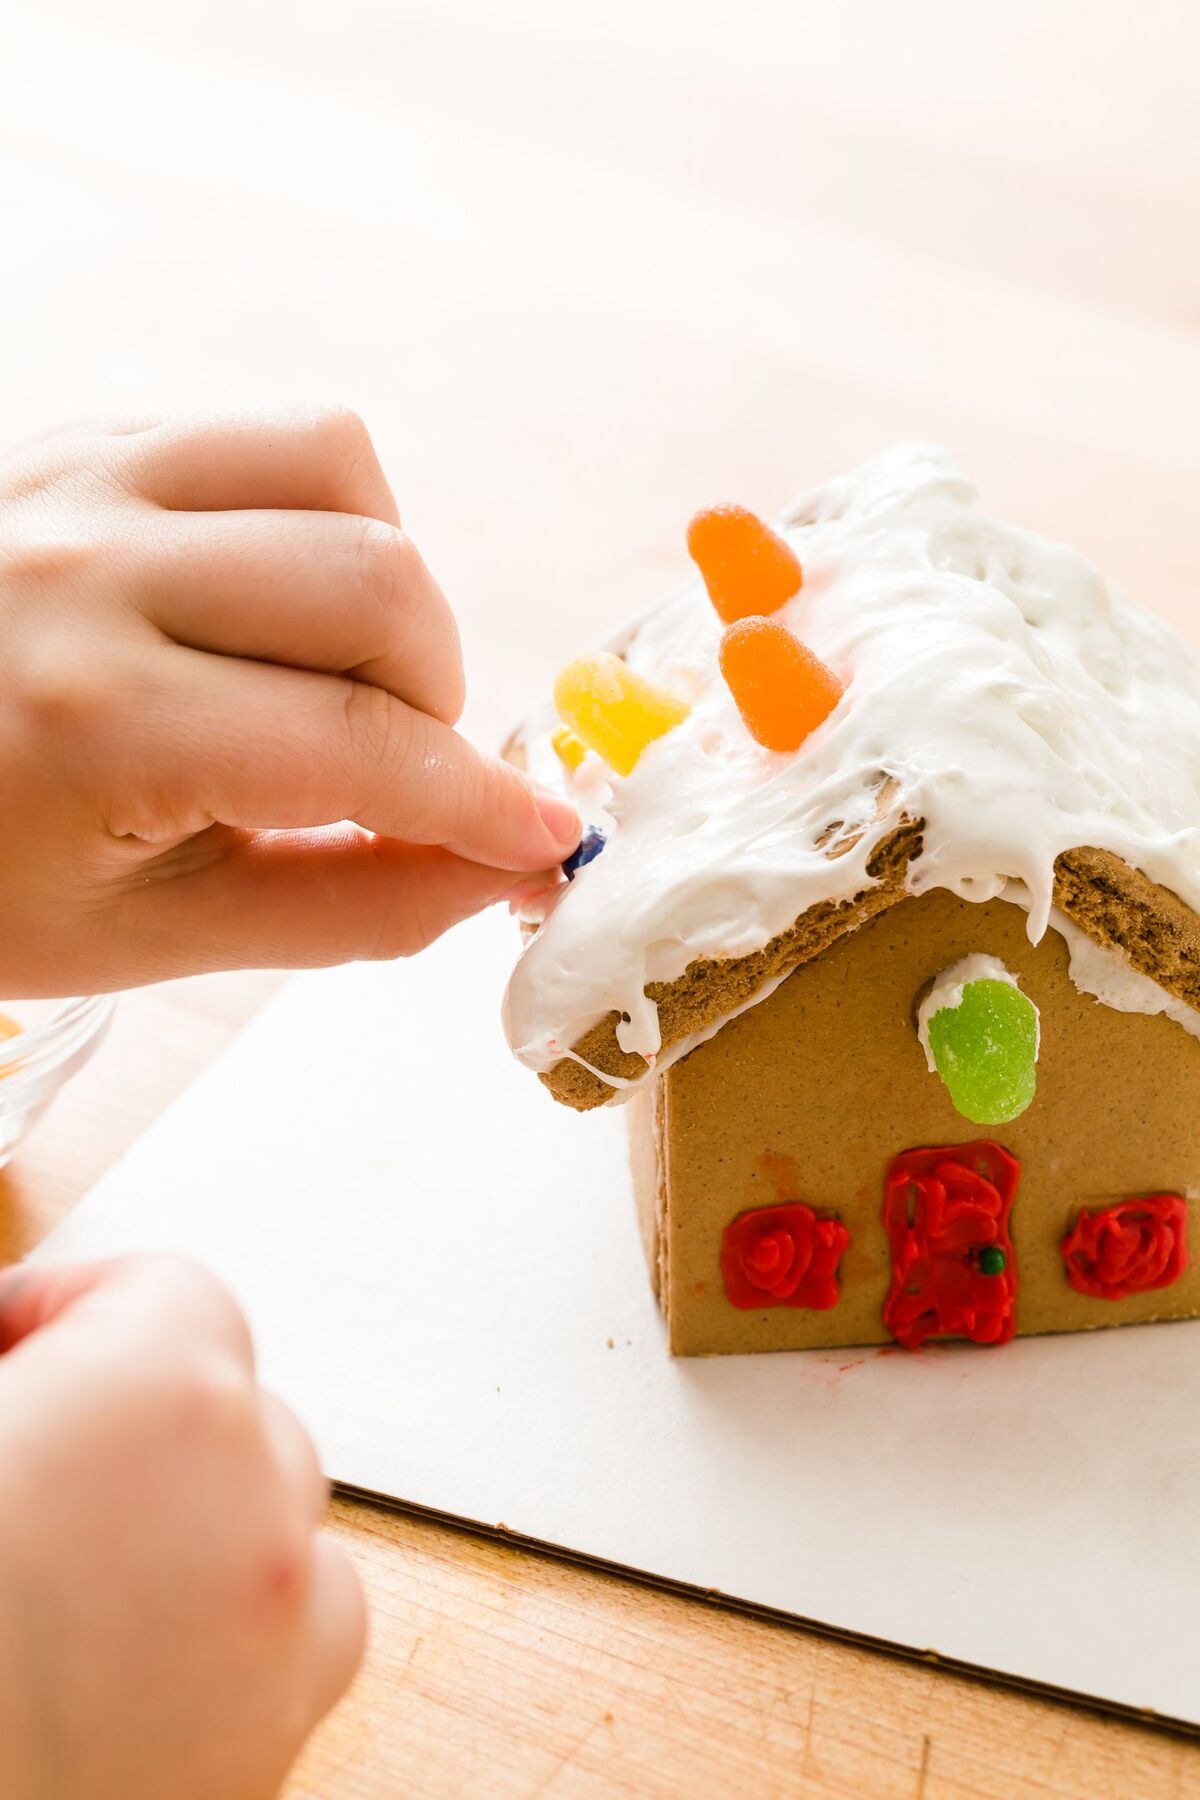
Don’t force your kids to be perfectionists just because you are. We let Myles decorate his gingerbread house however he wanted. He had SO much fun with it.
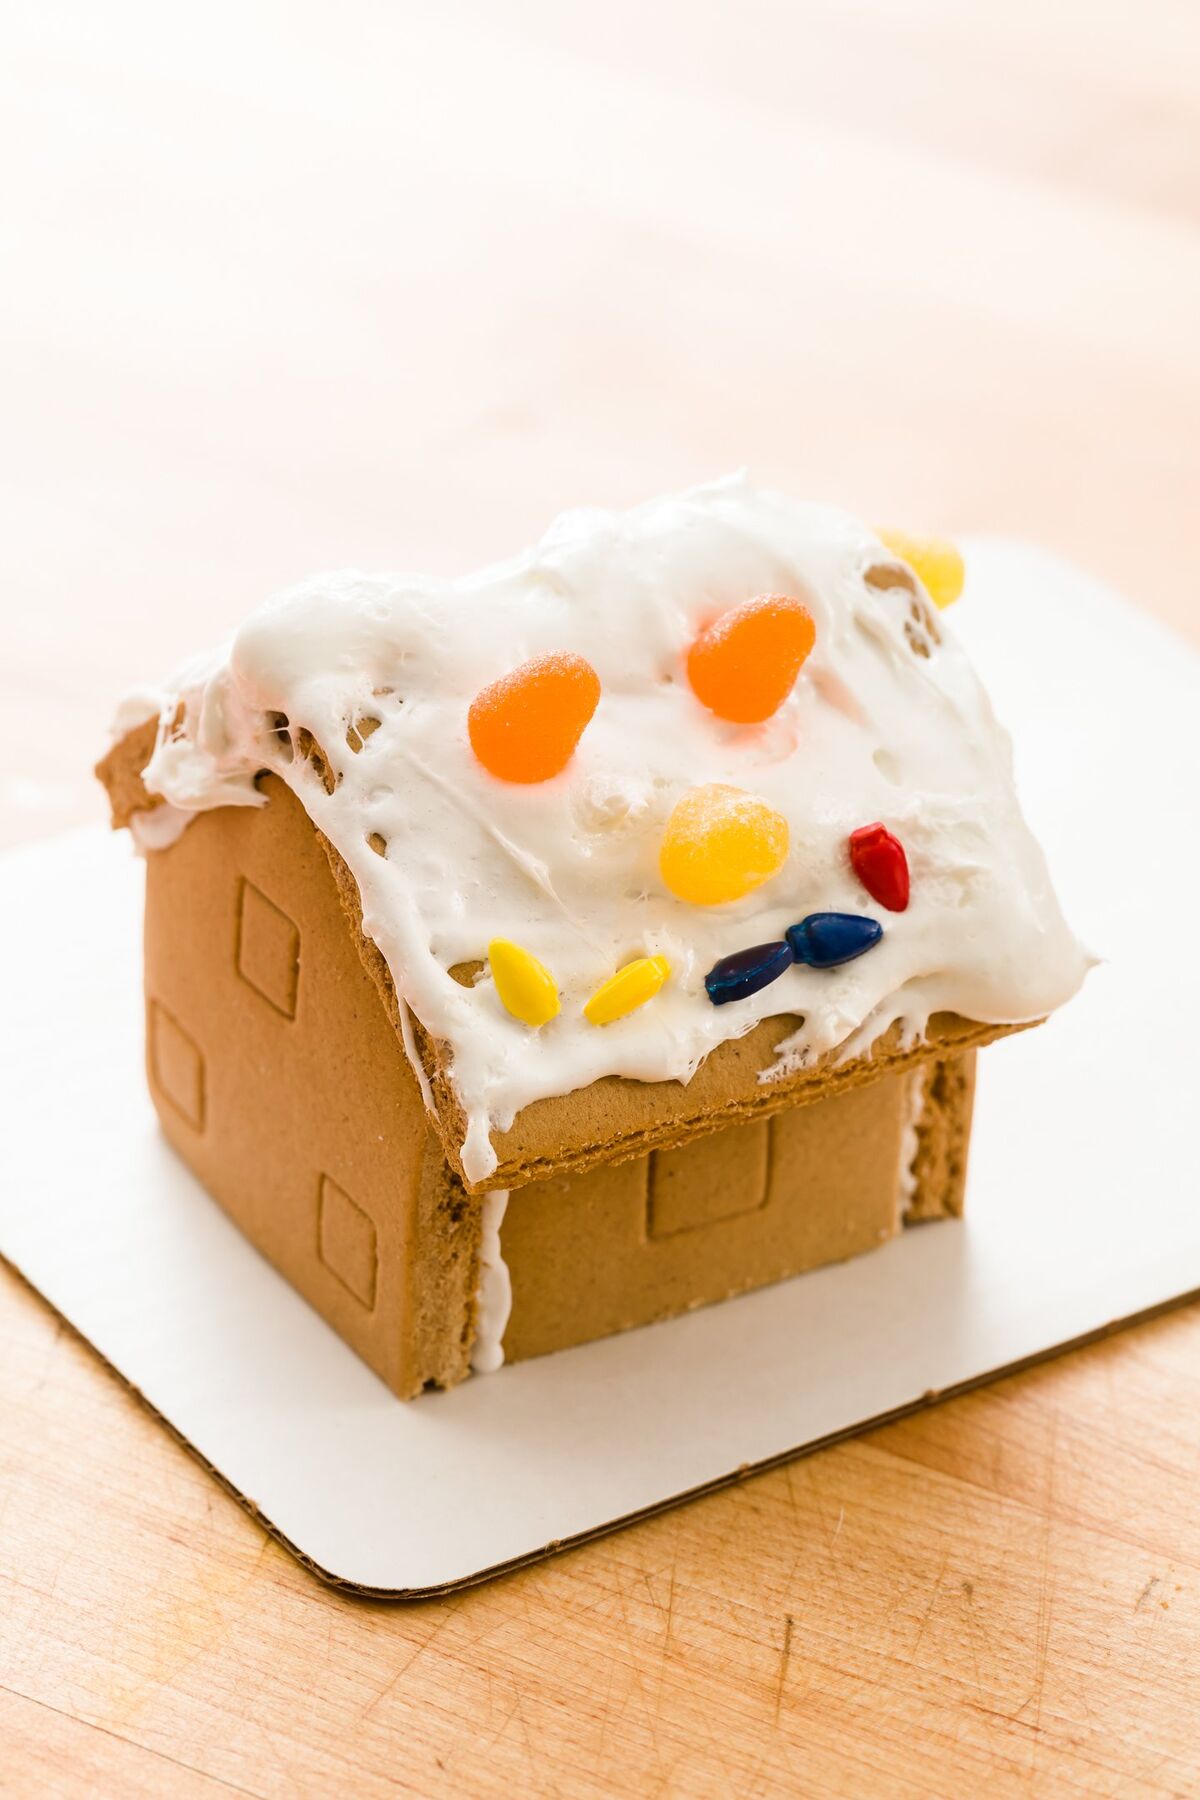
We weren’t quite sure where he was going with his design until it was all done and we saw the smiley face.
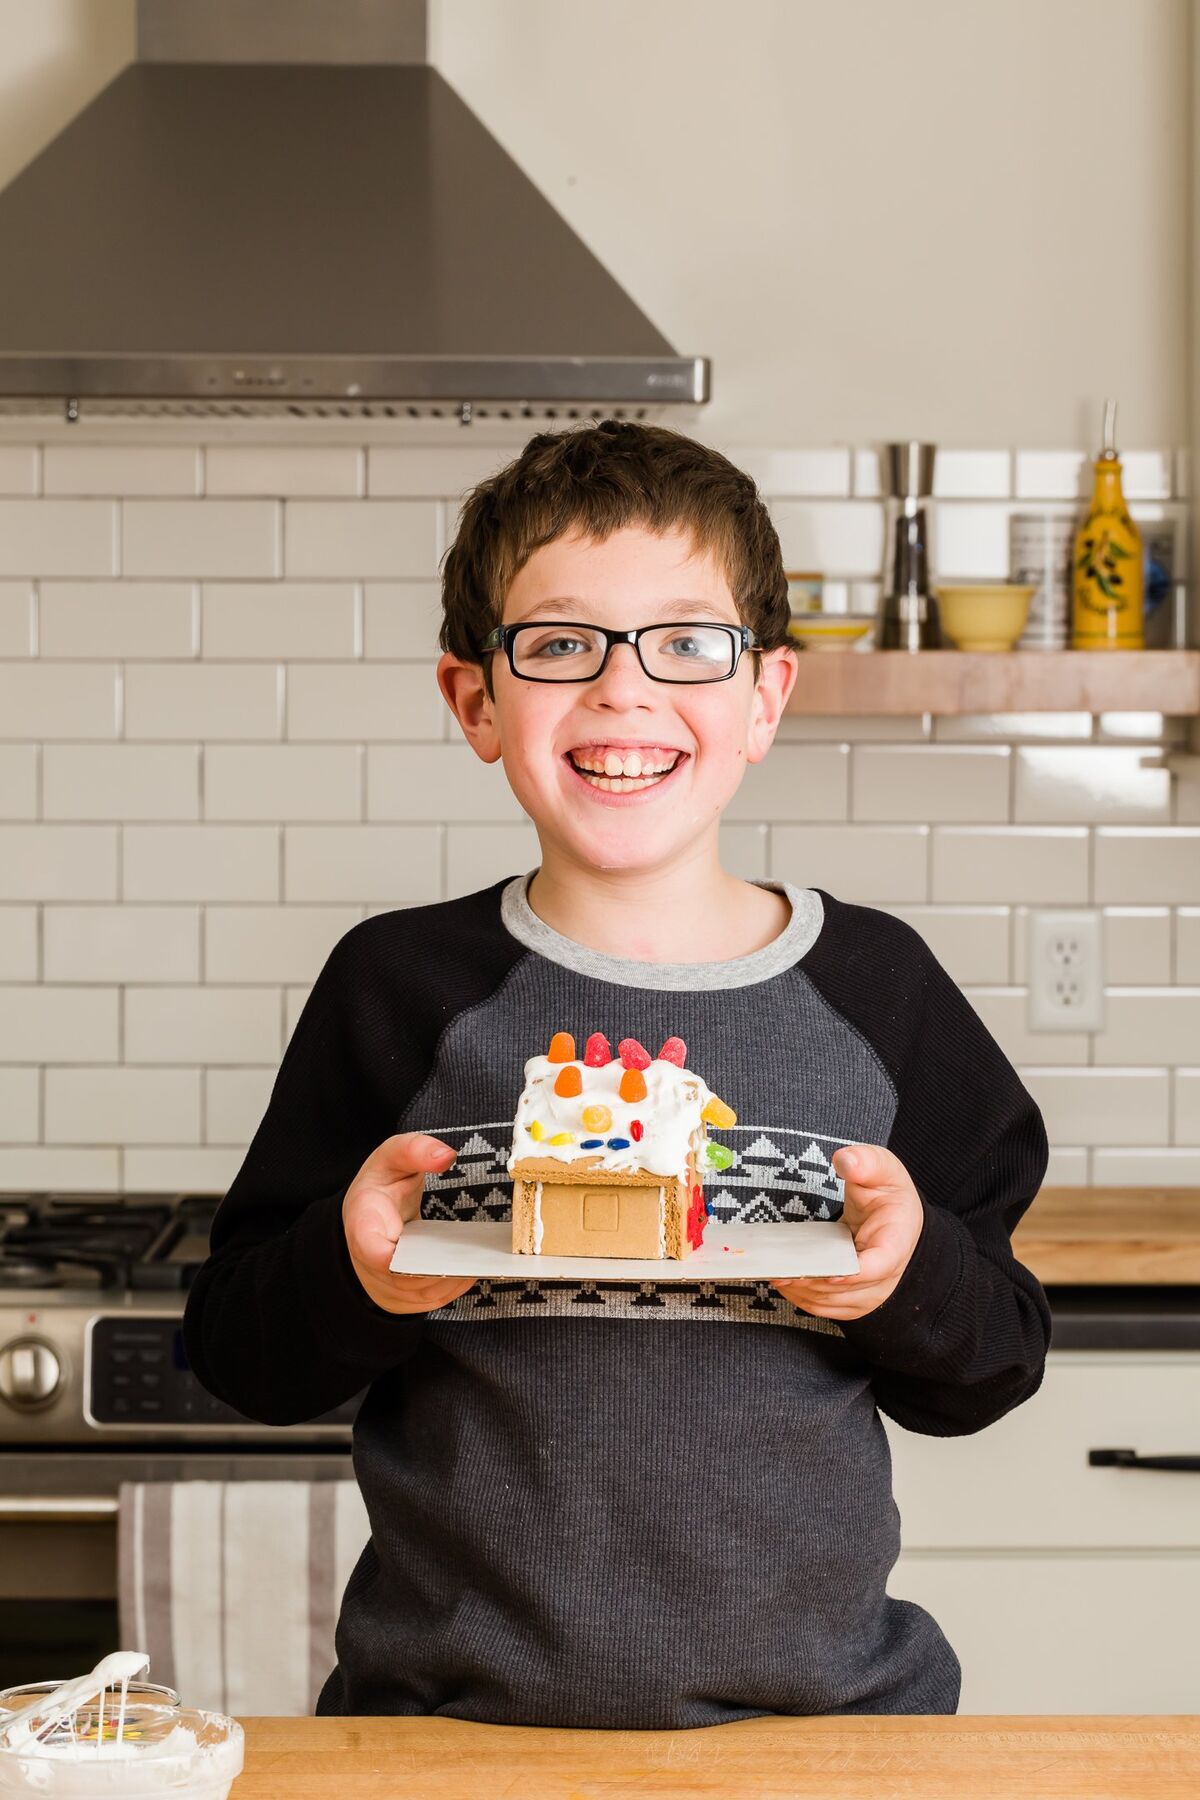
Unless your kiddos are very artistically talented, I recommend that you leave the perfect looking ones for the Type A adults in your household to make. In our case, that’s my husband. I’m not ashamed to say that he is better at decorating gingerbread houses than I am.
One final tip is that you should follow the instructions in the box and use a knife to saw the perforated gingerbread pieces apart. I tried to save time and snap them apart at the perforation and broke a few. If the pieces break, you can easily glue them back together with frosting. But, obviously, it’s best if they don’t break in the first place.
Are Gingerbread Houses from Kits Edible?

I love gingerbread (see my gingerbread cupcakes if you don’t trust me). So, I was thrilled to learn that everything in the kit we bought is edible!
I snuck a bite of the house just to try it and it wasn’t bad.
As for Myles, half of the icing wound up in his mouth! He couldn’t help himself. You might want to have some extra candy on hand just to have some to eat.
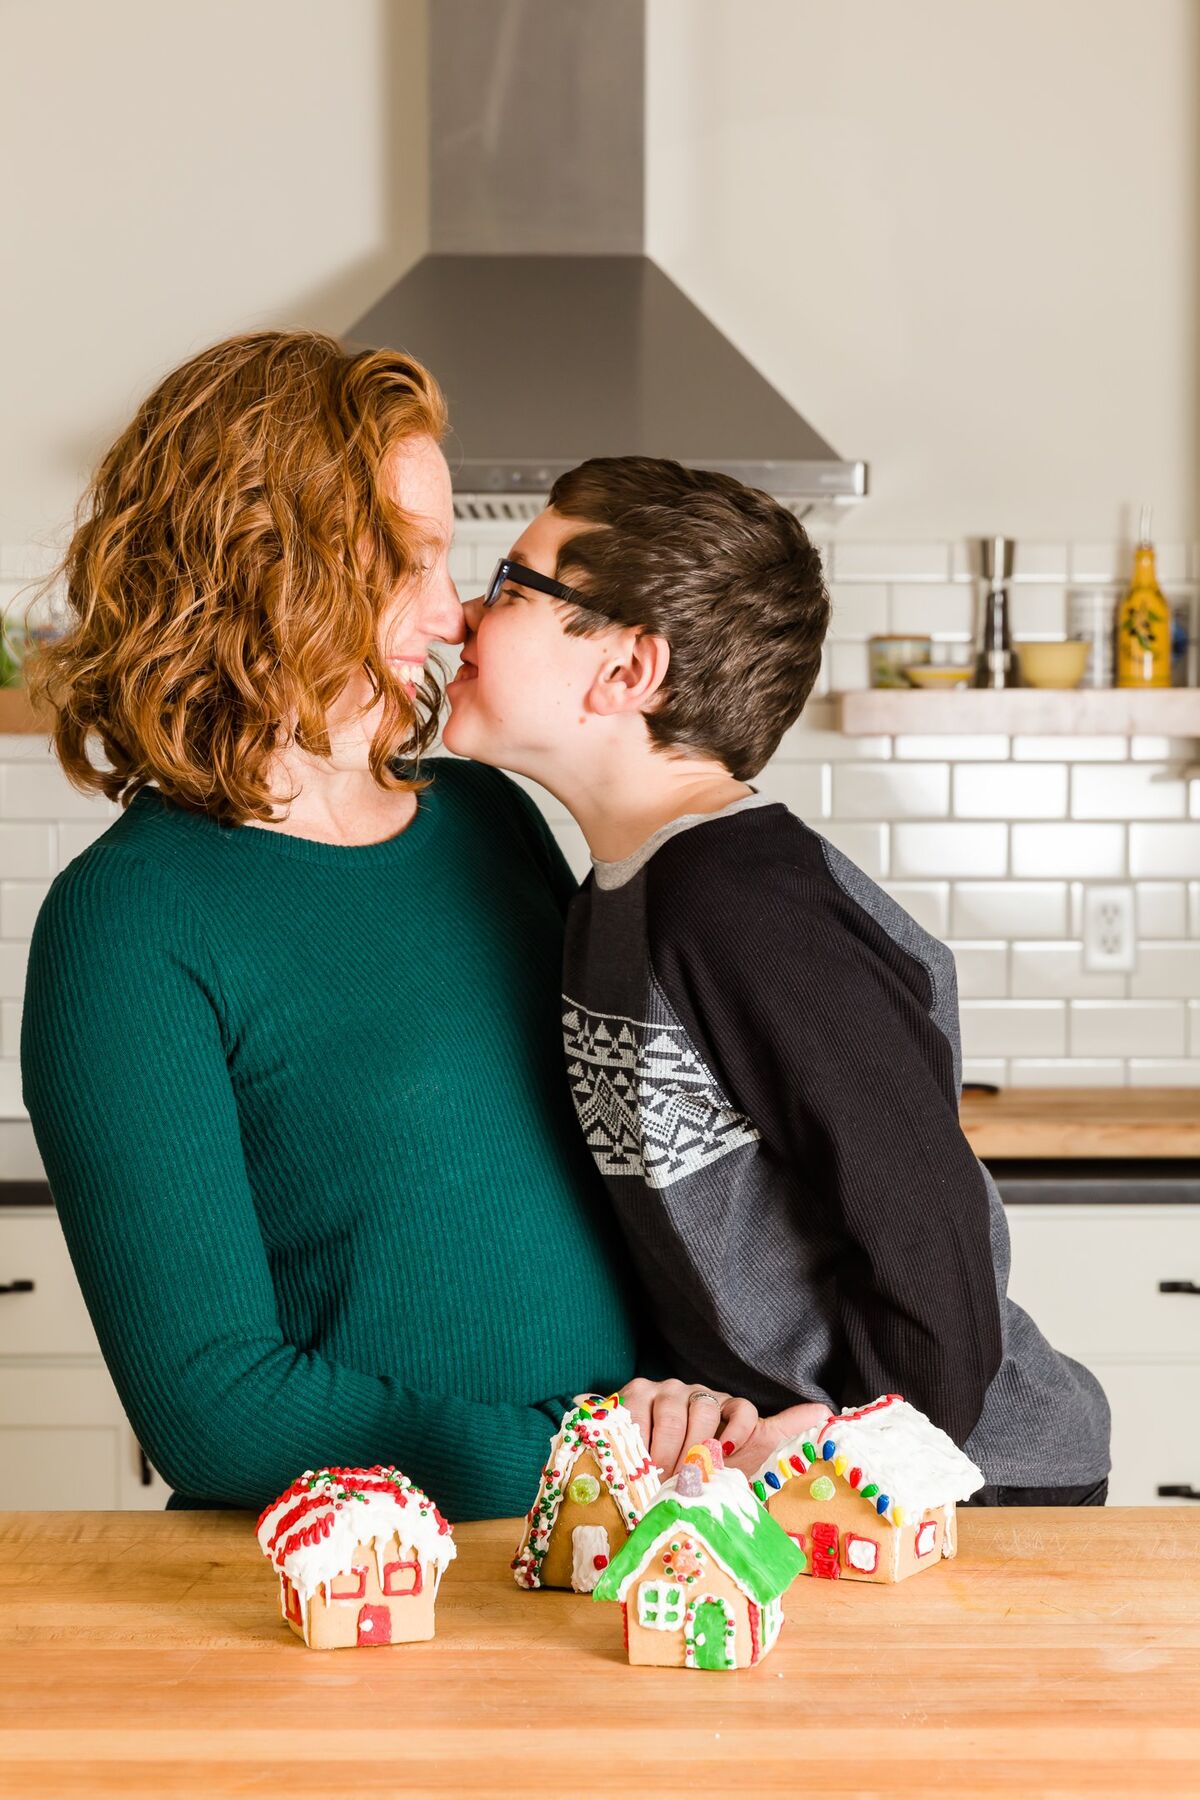
If you make gingerbread houses, I’d love to hear if you use a kit or make them from scratch. Please share your tips in the comments!
Loading comments...