Why I Always Use a Coupler in My Piping Bag
This is a guest post by Devon done in partnership with Kitchen Conservatory in St. Louis. Devon feels more strongly about couplers for frosting than anyone I’ve ever met, so I invited her here to convince all of us to use them.

A few weeks ago, I got some of those fancy, new Russian tips that require large couplers (more on that in my next guest post). I teach cupcake decorating classes, so I consider myself pretty well stocked with decorating supplies but, alas, no large couplers. I needed to practice with the new tips, so against my better judgement, I went without a coupler. Seven new tips meant seven piping bags. Seven! Ugh, such a waste, but a girl’s got to work. As expected, the bag stretched a bit as I worked and I found frosting starting to slide up and out around the tip. This could have all been so easily avoided. One darn coupler would have saved me many bags and a lot of hassle. I know it’s a weird thing to obsess over, but if you have ever had a tip come shooting out of your bag and frosting all over your hands (and shirt, and counter, and floor, and…), you understand what I mean.
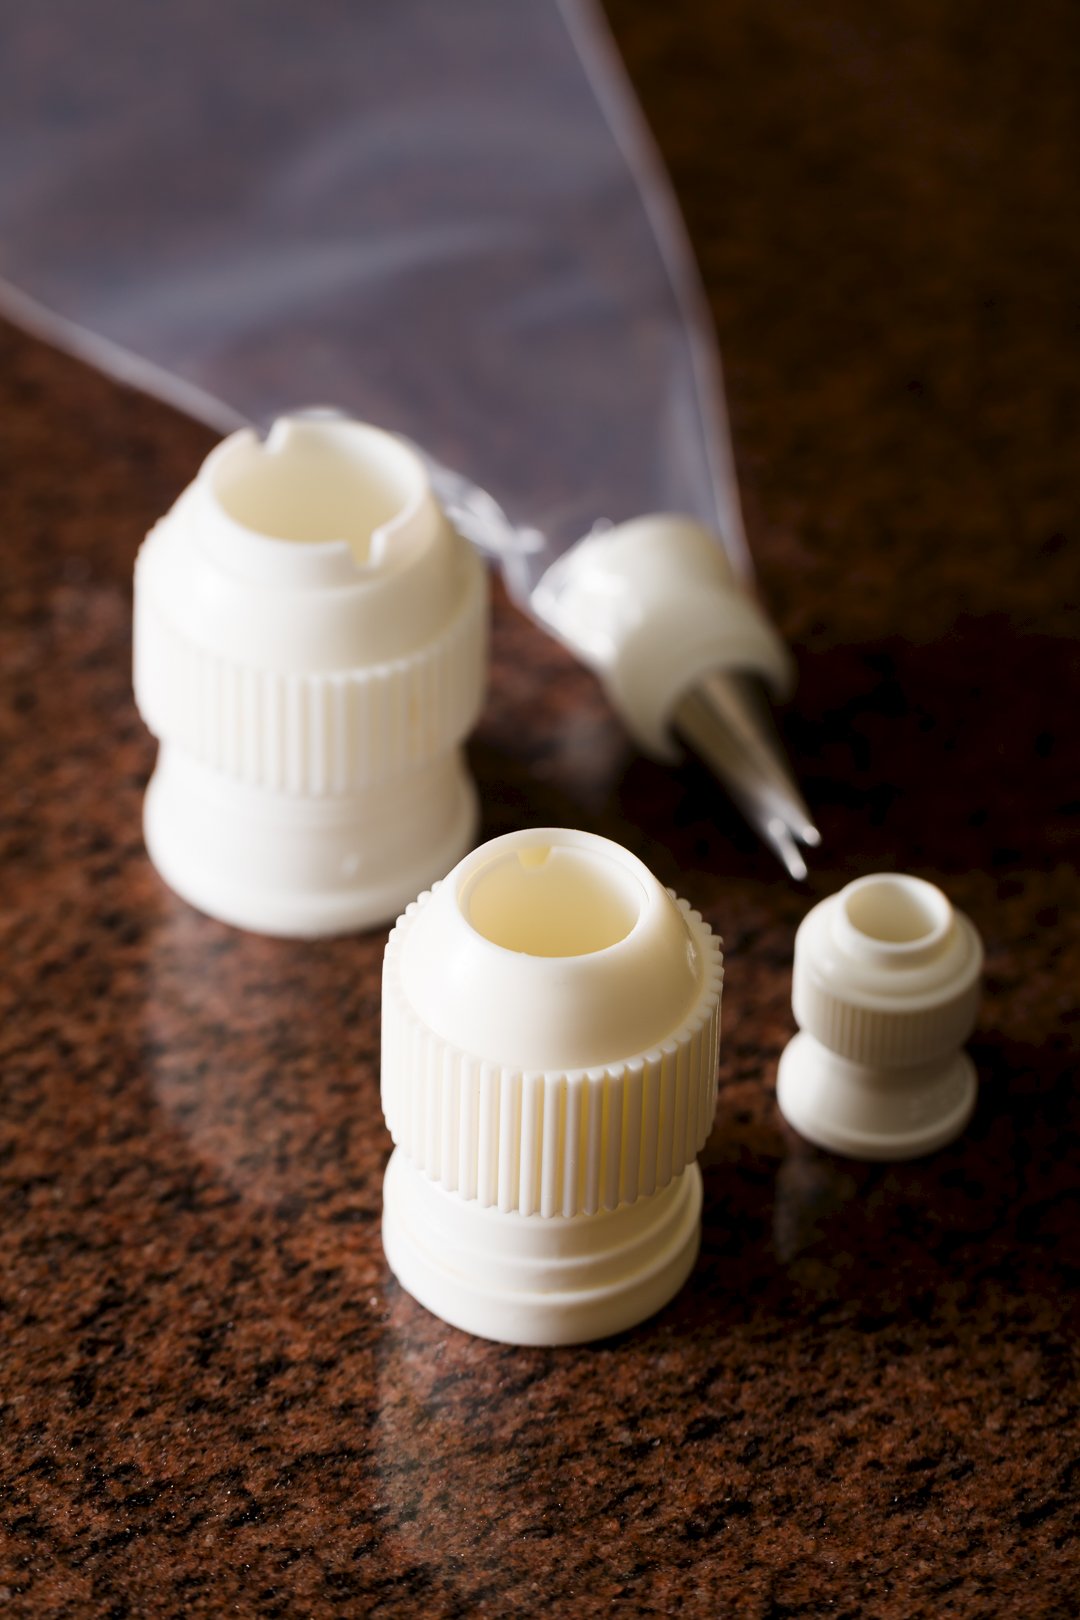
What Is a Coupler?
So, what is a coupler, anyway? Basically, it is something that connects two things – in this case, a piping tip to a piping bag. There are three different sizes of couplers (small, medium, and large), and the size you need is based on the tips you will be using. Small couplers fit all small tips, medium couplers fit all other Ateco tips ending in #0-6, and large couplers fit Ateco tips ending in #7-9. The exception to this is Russian piping tips, which all require large couplers. It’s always something, isn’t it?
How to Use a Coupler
How do you use a coupler, you might ask. Well, let me tell you. First, you will need to trim your bag to fit the size you are using. I like to slip the coupler into the bag and push it down as far as it will go. Then, I mark where the bottom edge of the coupler is and trim the bag there. A general rule of thumb is to trim the bag so that the first thread of the coupler shows. But, I prefer to cut a little less – better safe than sorry! After you have trimmed your bag, you can position the coupler, add your tip, and screw the ring on over the tip. Easy, right?
Here’s a little video we shot to illustrate the process:
Music: https://www.bensound.com
Why I Always Use a Coupler
My top 4 reasons to use a coupler are:
(drumroll, please…)
- Security – the coupler firmly attaches the tip to the bag, preventing it from shifting or slipping out of the bag.
- Flexibility – a coupler allows you to easily switch tips when using the same color for different decorations.
- Stability – the coupler adds a little more structure to the piping bag, which gives you more control when decorating.
- Cleanup – cleanup is easier with a coupler when using disposable pastry bags. Simply cut the pastry bag right along the coupler to remove. It is easier to grab the end of the coupler than a tip that is snug in the pastry bag.
If you don’t plan on changing tips, you can put the tip directly in the bag, but I ALWAYS use a coupler. You might be OK if you are working with a light, fluffy frosting, but I feel like the pressure it takes to use a stiffer frosting always results in the bag stretching some. You’re then running the risk of the tip slipping and frosting oozing out around the tip.
Do you use a coupler? Why or why not? Let me know in the comments!

Loading comments...